Tech-Style Design: A behind-the-scenes look into the future of wearable tech
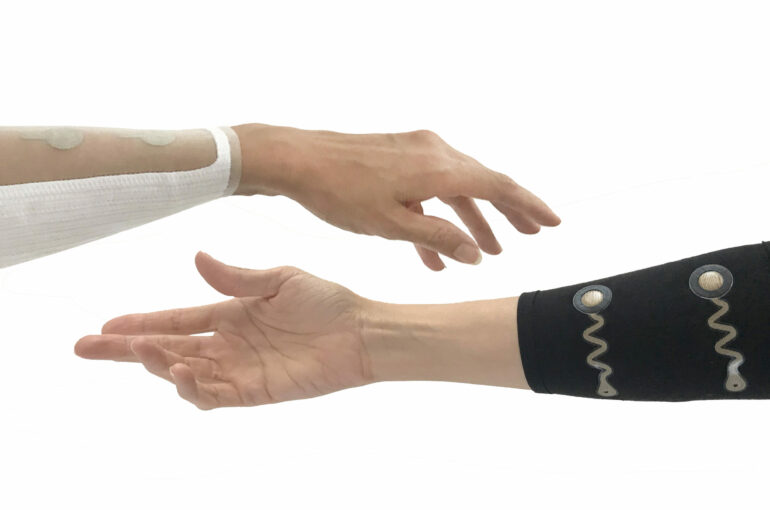
We are nearing the end of the first Re-FREAM grant, an opportunity for artists and designers to work together with scientists and technologists within a consortium of partners. In my last blog post, I illustrated many different explorations that my partners and I had been exploring towards the goal of creating a sensor garment for stroke rehabilitation. Since then, we explored many interesting possibilities until we were able to confidently narrow our wide research into the best choices for materials, techniques, and design.
This project has been an amazing collaboration between many valuable partners. In addition to my tech partner at Fraunhofer IZM, Christian Dils, who collaborated in the research trials and production of the final sensor TexPCB products, I worked with Paula de Andrés of POL Studio to develop the pattern designs for the garment, and with the Knitwear Lab in The Netherlands to experiment with yarns and structures, and ultimately knit the final pieces. Together, our goal has been to create a technical solution that works, and to integrate it into an ergonomic and elegant garment design that complements the structure and movements of the body.
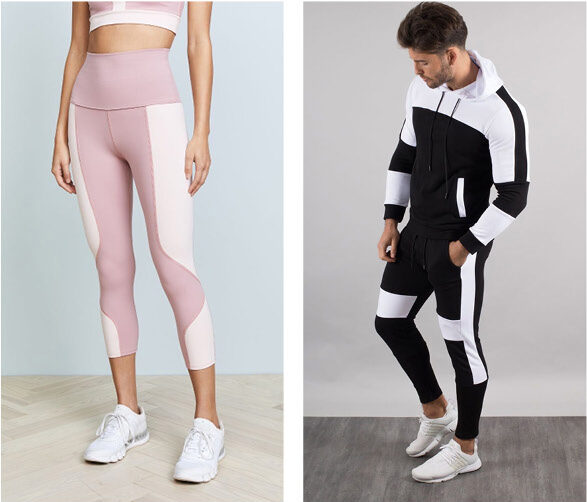
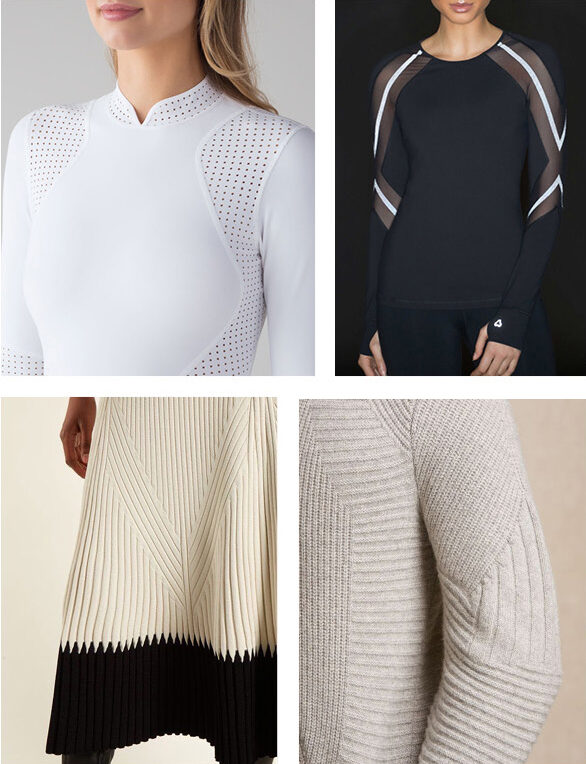
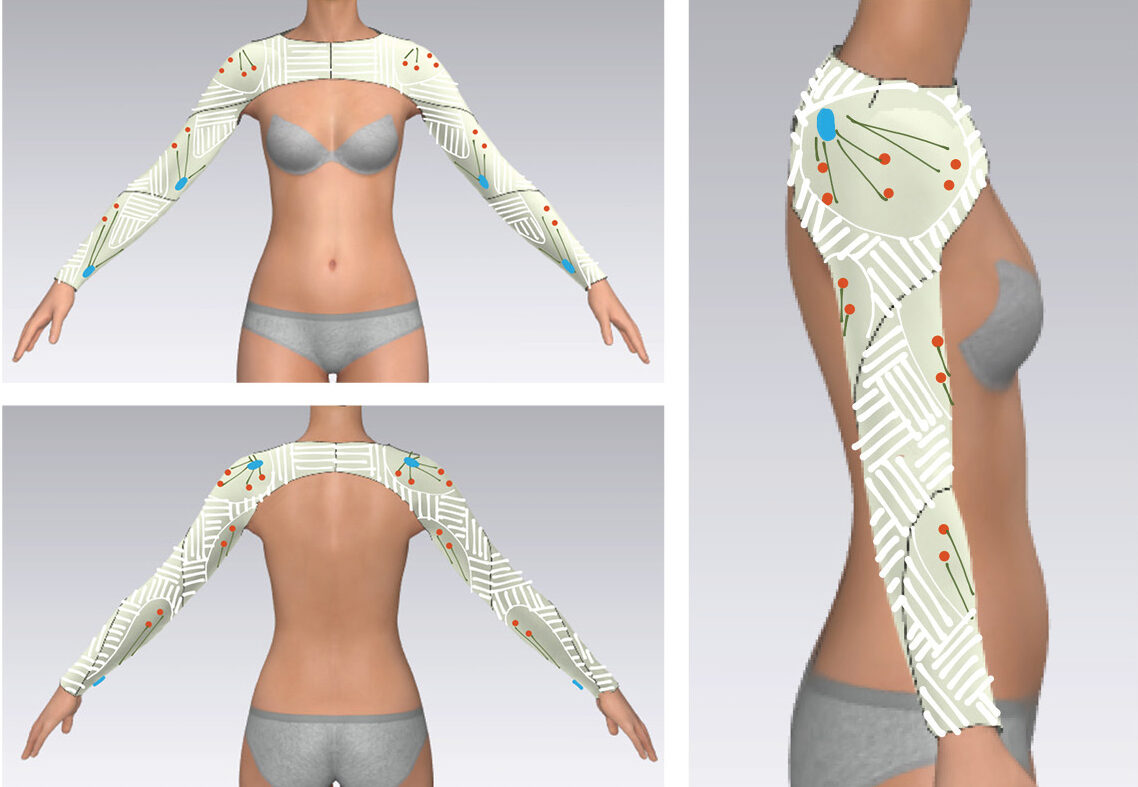
Moving from technique exploration to final prototype design, I began by gathering images of sportswear and knitwear that spoke to the two key elements of our design: body & muscle mapping, and comfortable ways to combine lightness with compression. We wanted to create a pattern design that would follow the lines of the muscles. This would allow us to create areas within the garment for placing the muscles sensors without interfering with seamlines.
As discussed in the last blog post, we knew it was necessary that the textiles fit tight to the body and one of the ways we could have done this would have been by creating a second compression layer. Another option was to use a combination of knit structures that would allow this within a single layer design. I had the idea to create a design that combined lightweight structures with dense knits to create breathability and compression.
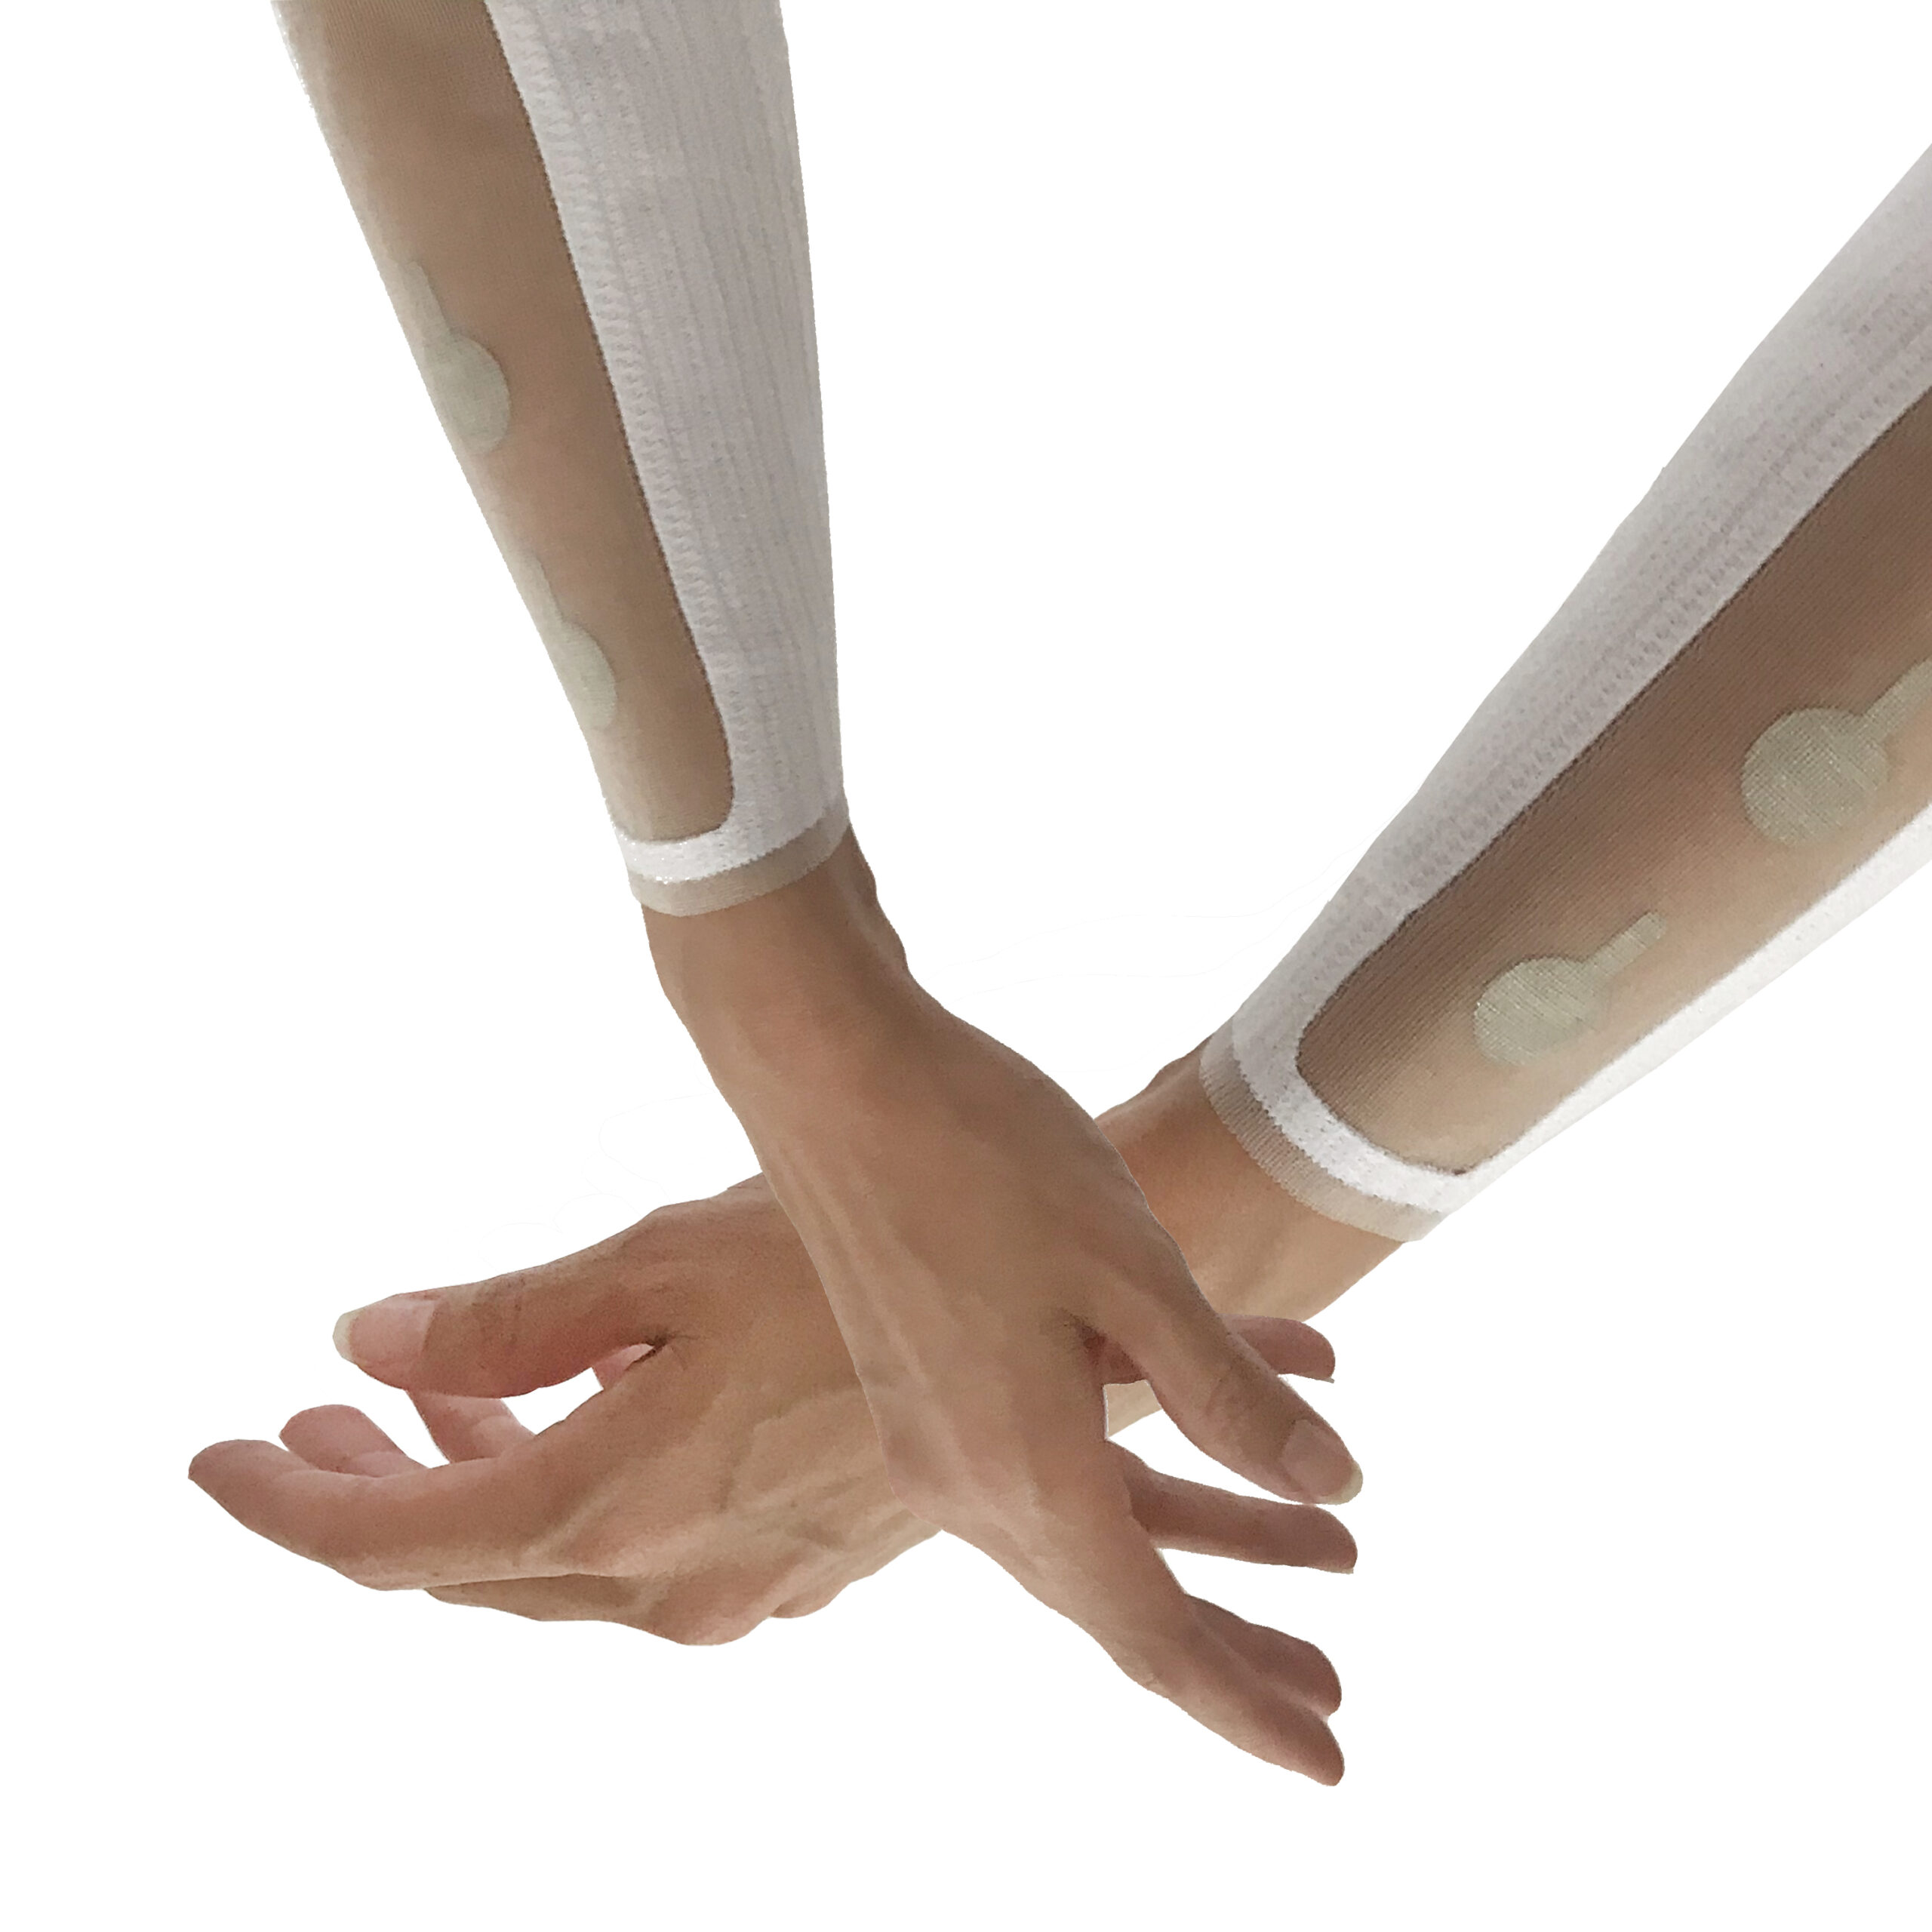
We began creating fabric trials of the sleeve in order to create the first pattern design, and then we used 3D modelling to mock-up the pattern on the body. After we developed the general shape of the pattern, we were able to begin loosely estimating the positions of the sensor pads, tracks, and processing modules. Working with Paula, we mapped the sensor positions to actual male and female bodies, and Paula created the patterns for the first knit trials.
While we developed the shape of the pattern, we also create material trials. My main partner at the Knitwear Lab has been Gaia Liesdek. We knit a variety of structures in a range of yarns in order to meet criteria for comfort, cleanliness, and stretchability.
We also made several material trials using a TPU yarn and intarsia knit technique. Ultimately, the idea was to knit with the TPU yarn in the area where the TexPCB sensors would be laminated. This would not only give an indication as to where the sensors should be placed, it could also create a better connection to the textile. Ultimately, we found out that this technique also allowed us to reduce the lamination time and temperature, which helps to preserve the quality of the textile.
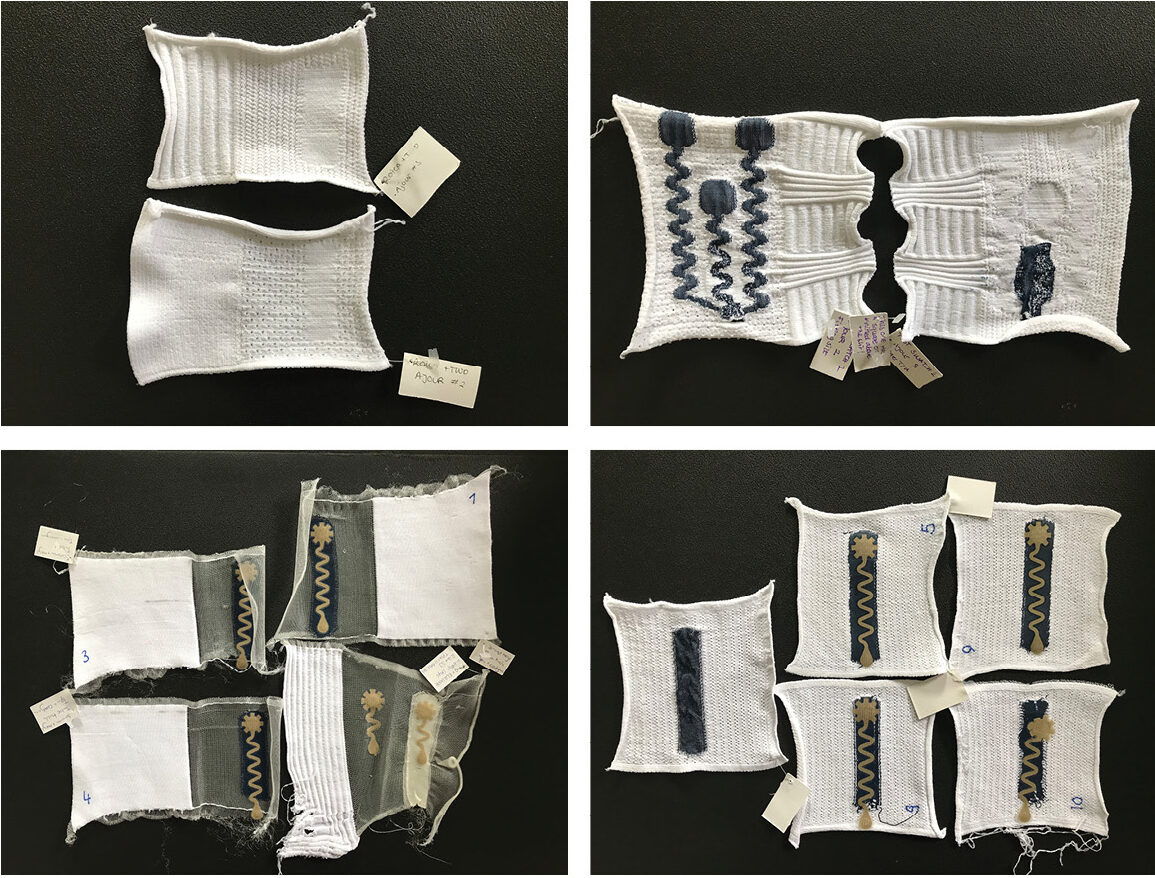
After testing several material options, we chose to knit the main sections of the garments with a combination of two yarns: a biodegradable yarn with a high stretch core wrapped in polyamide, and a silver-polyamide fibre used for its anti-bacterial properties. We tried knitting one option where this yarn combination was used throughout, and a second option where transparent yarns were knit in the areas where the sensors would be laminated. In both cases, we experimented with the TPU intarsia technique.
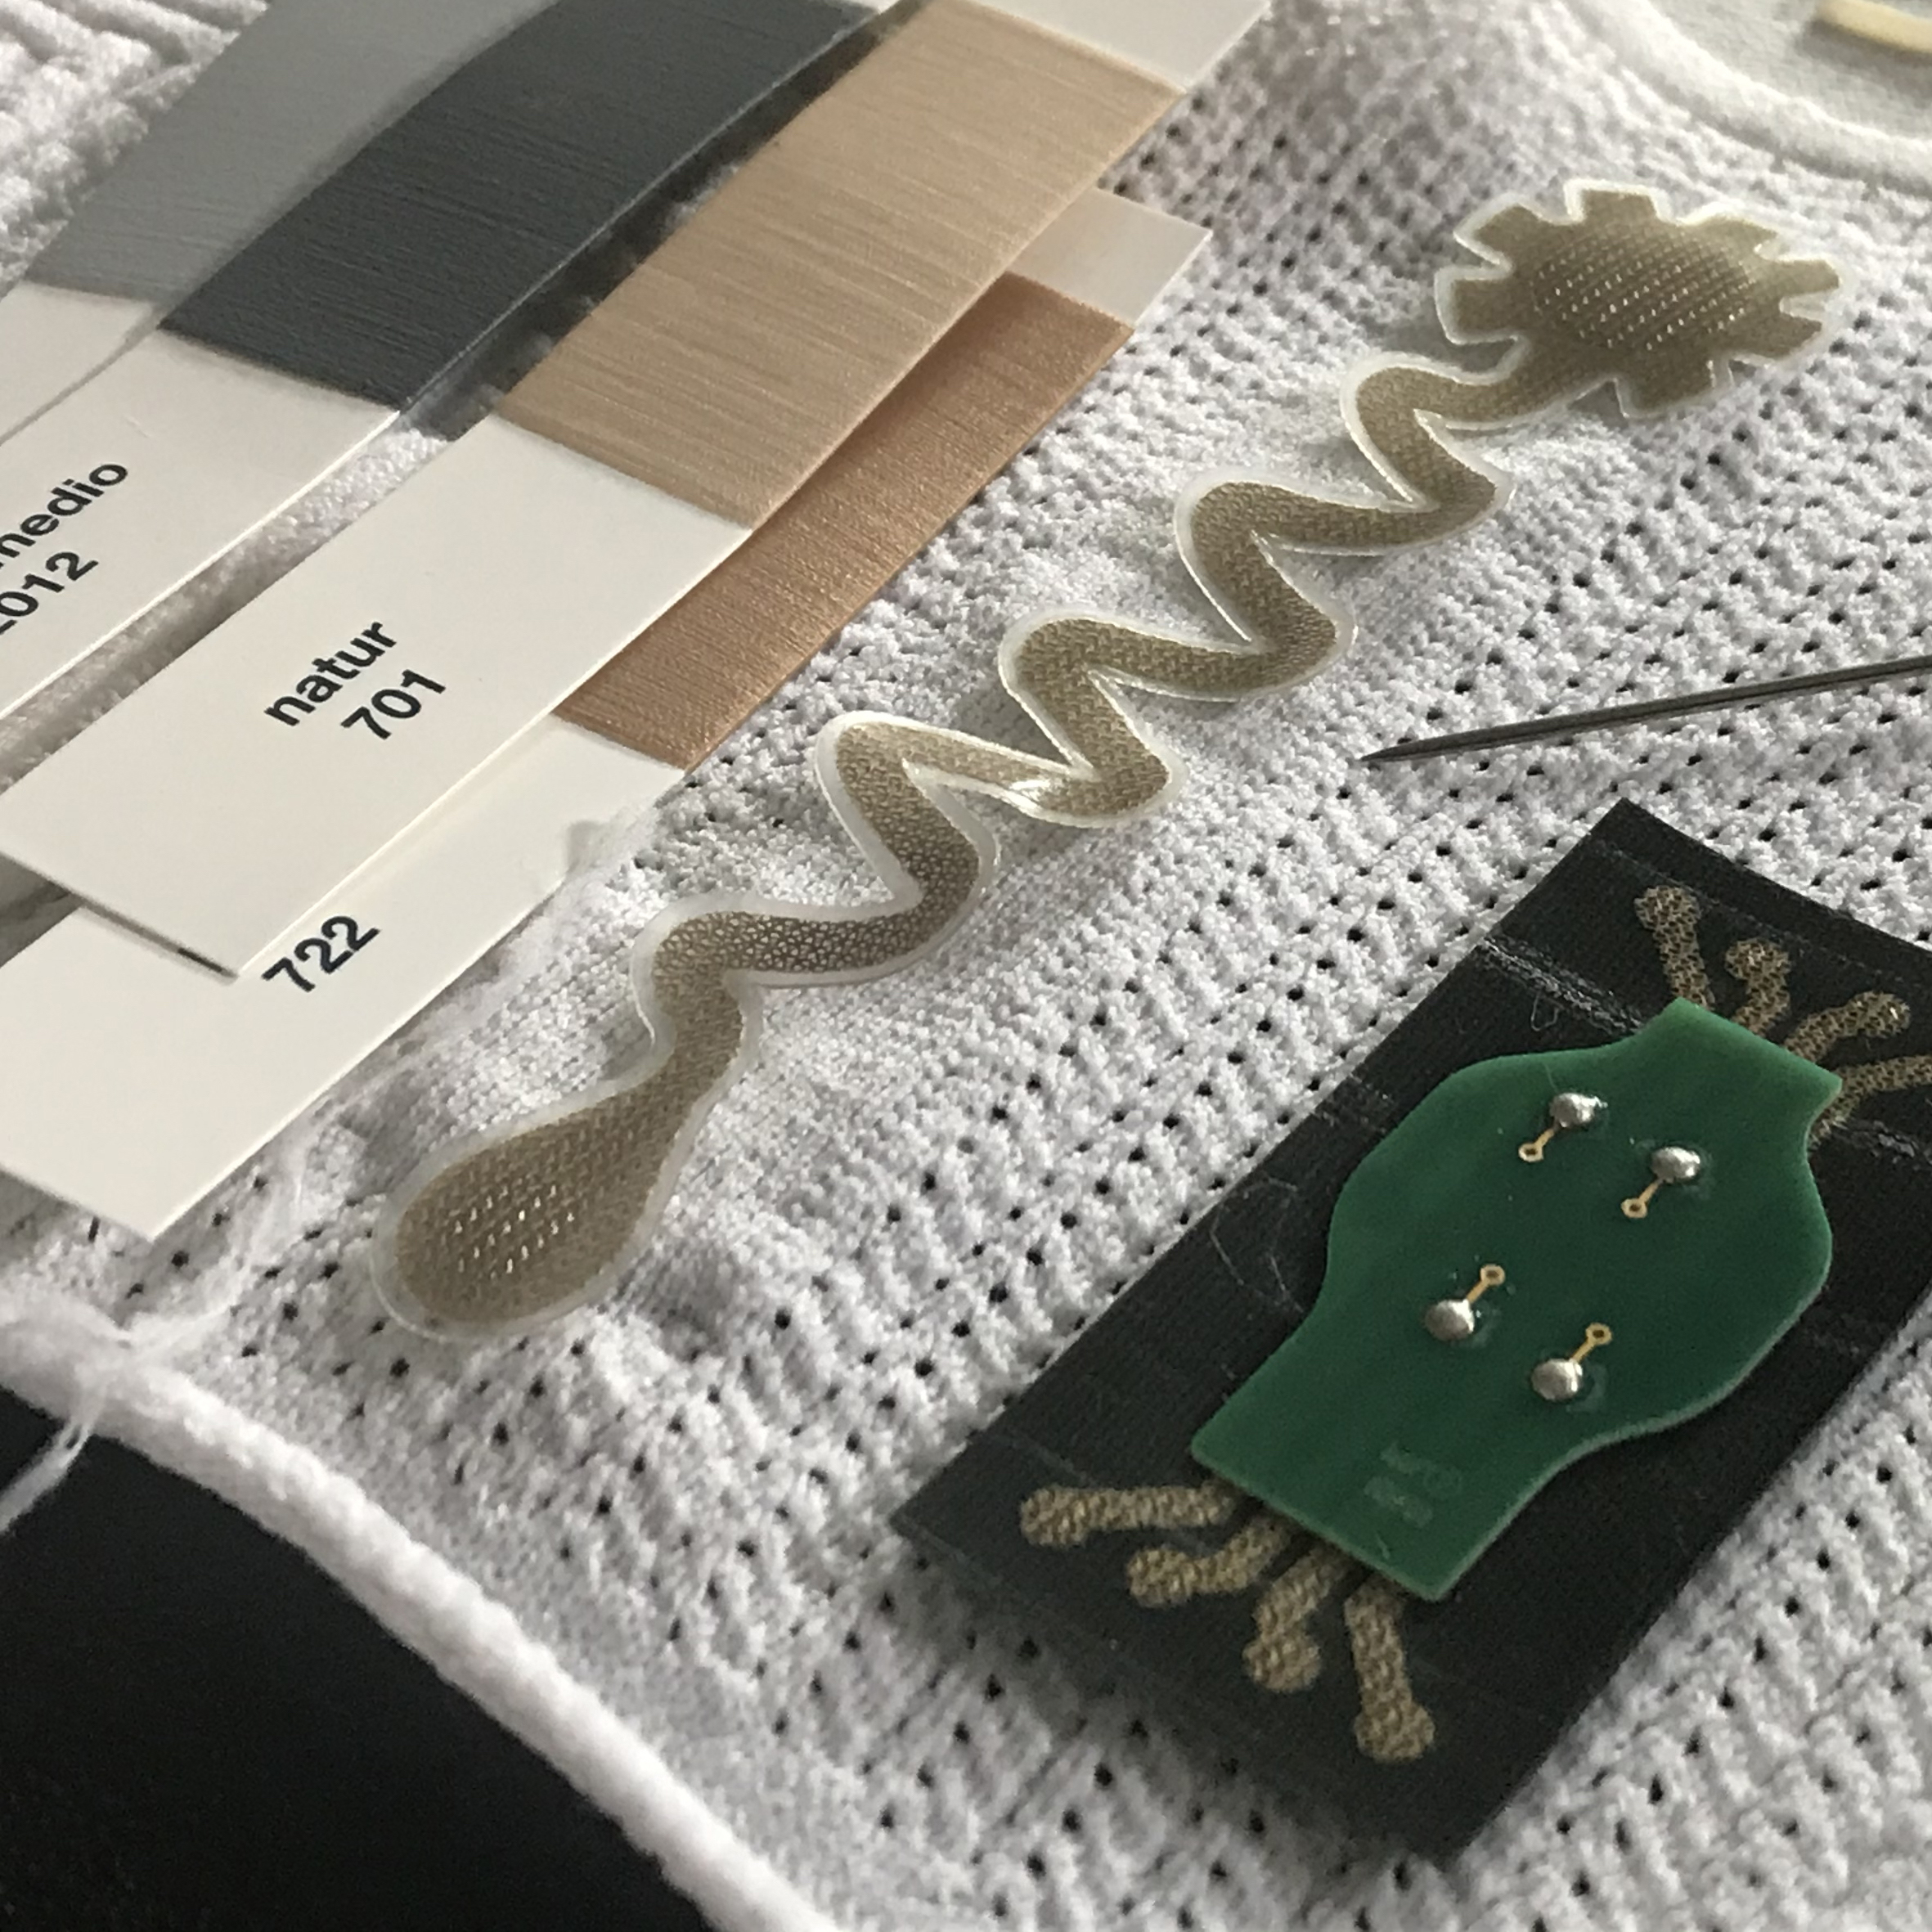
Slowly, we began to refine the material choices, and we also began planning for the interconnection between the TexPCBs and the processing module from ItoM-Medical. This required a specially designed interposer and a discreet housing device for the module that could allow for easy removal.
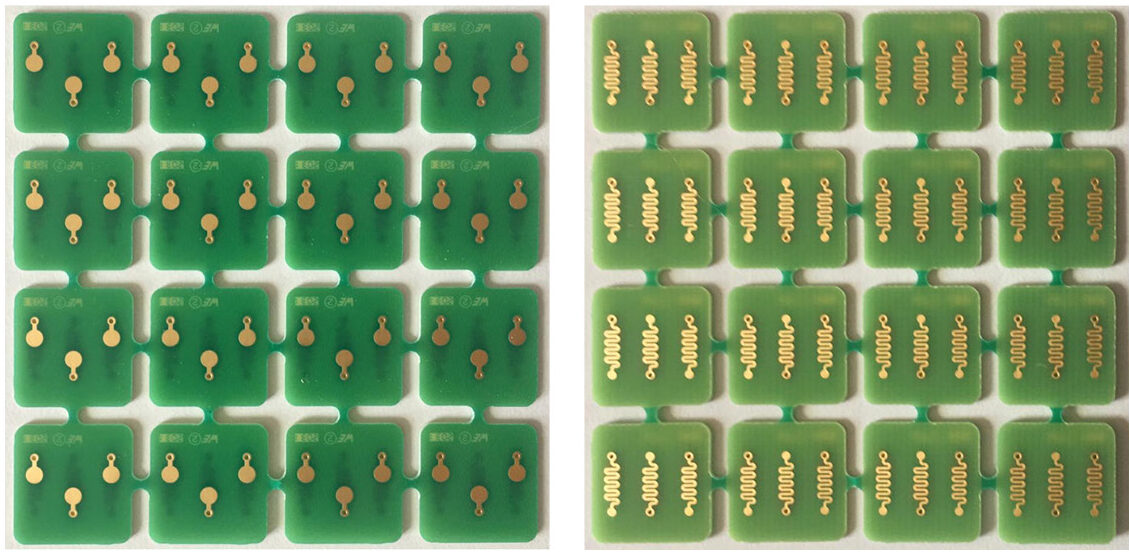
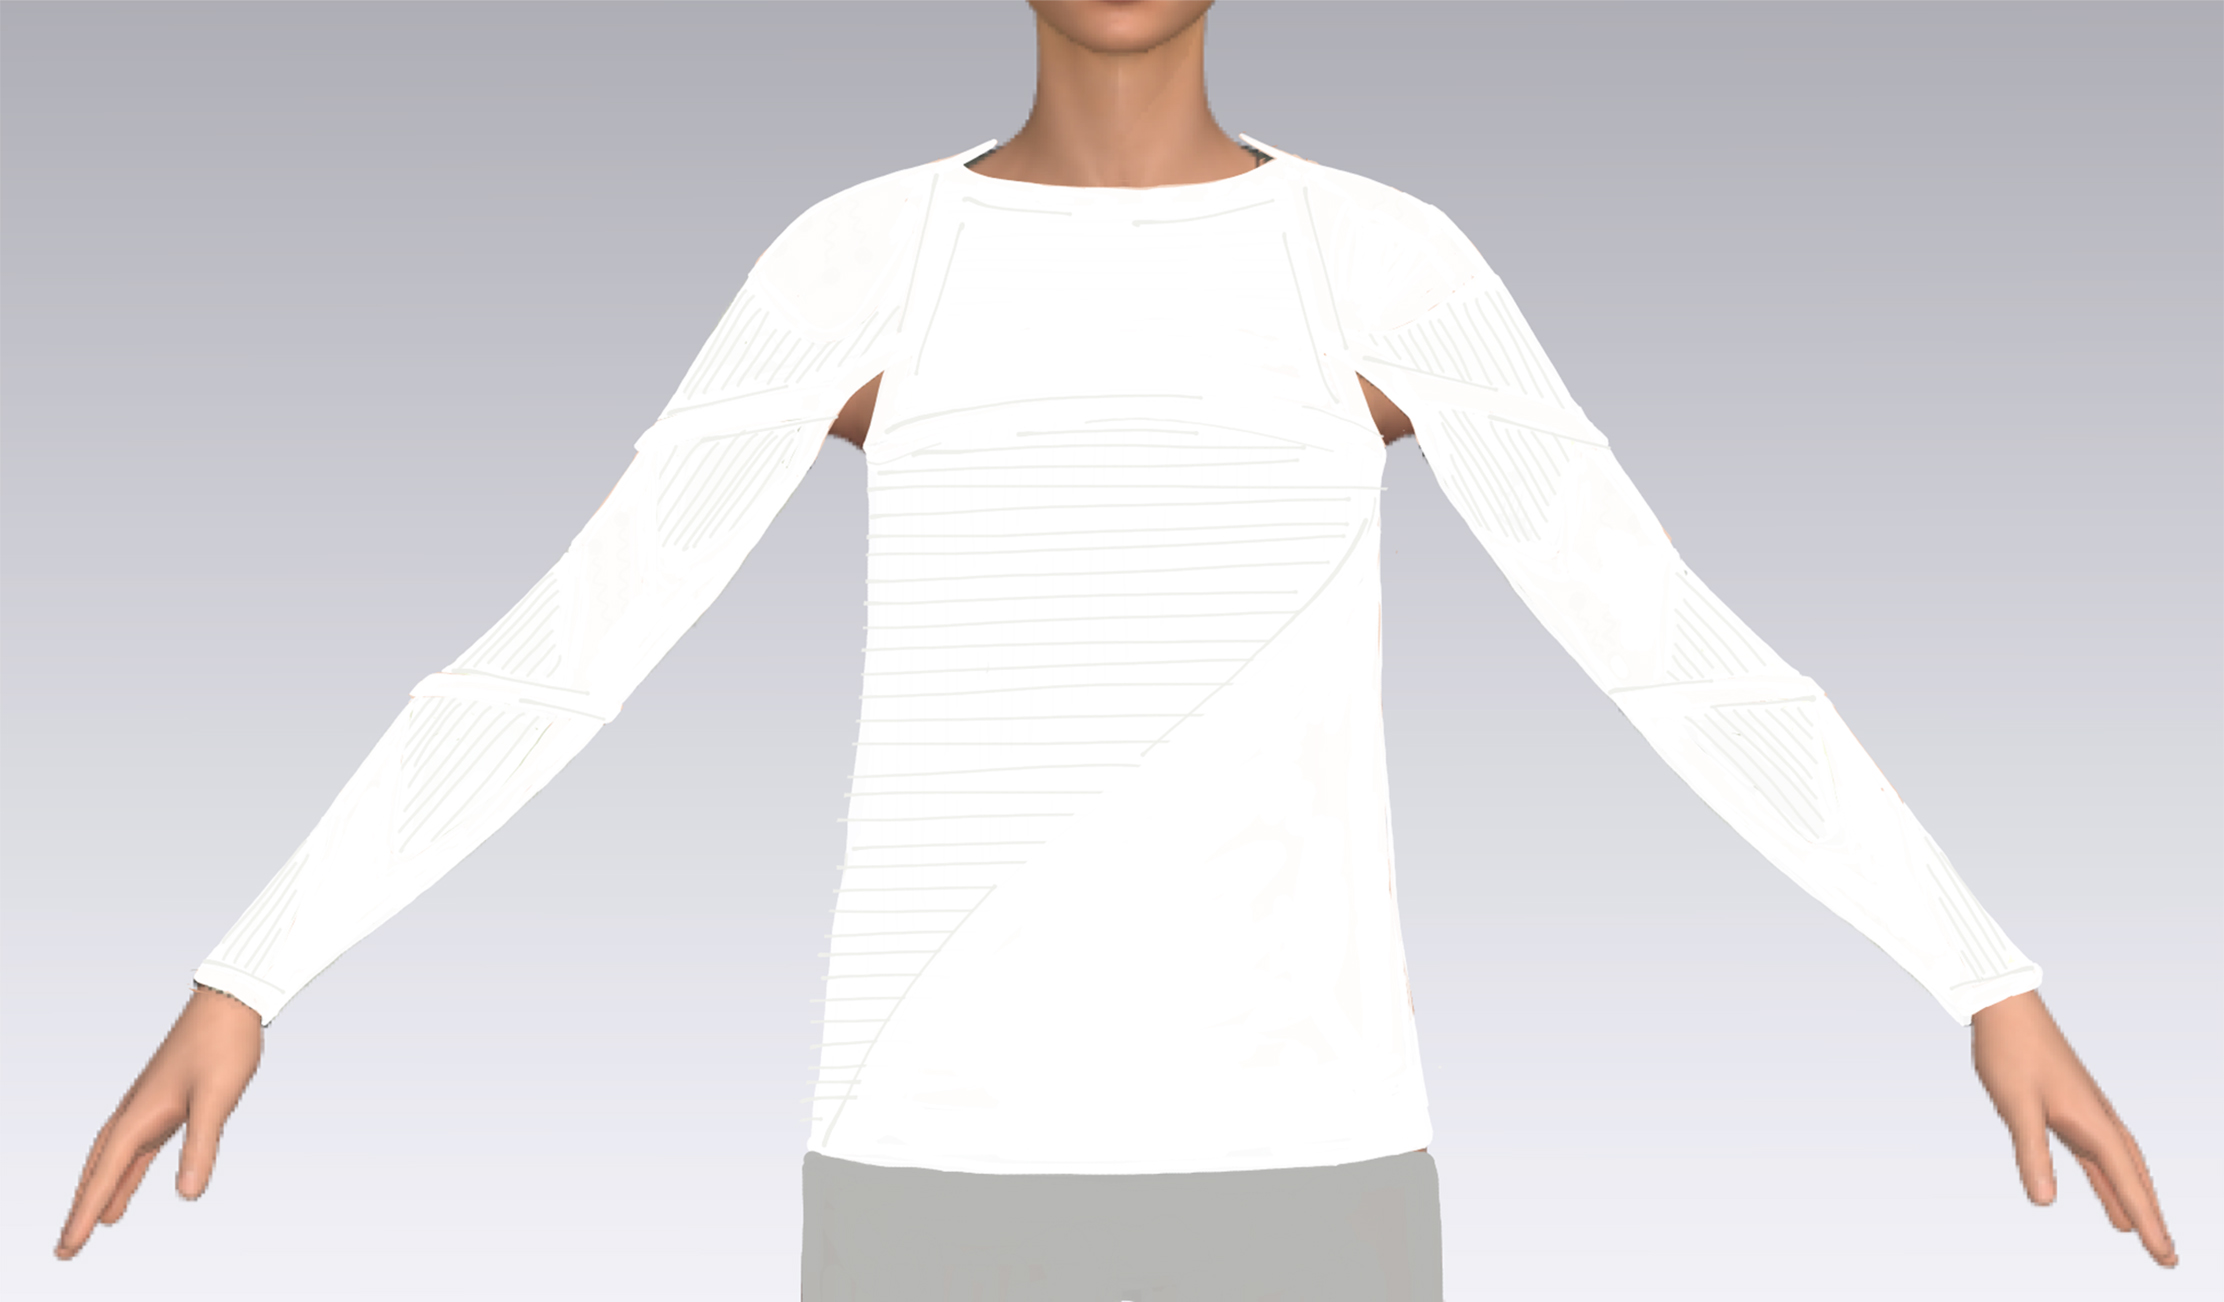
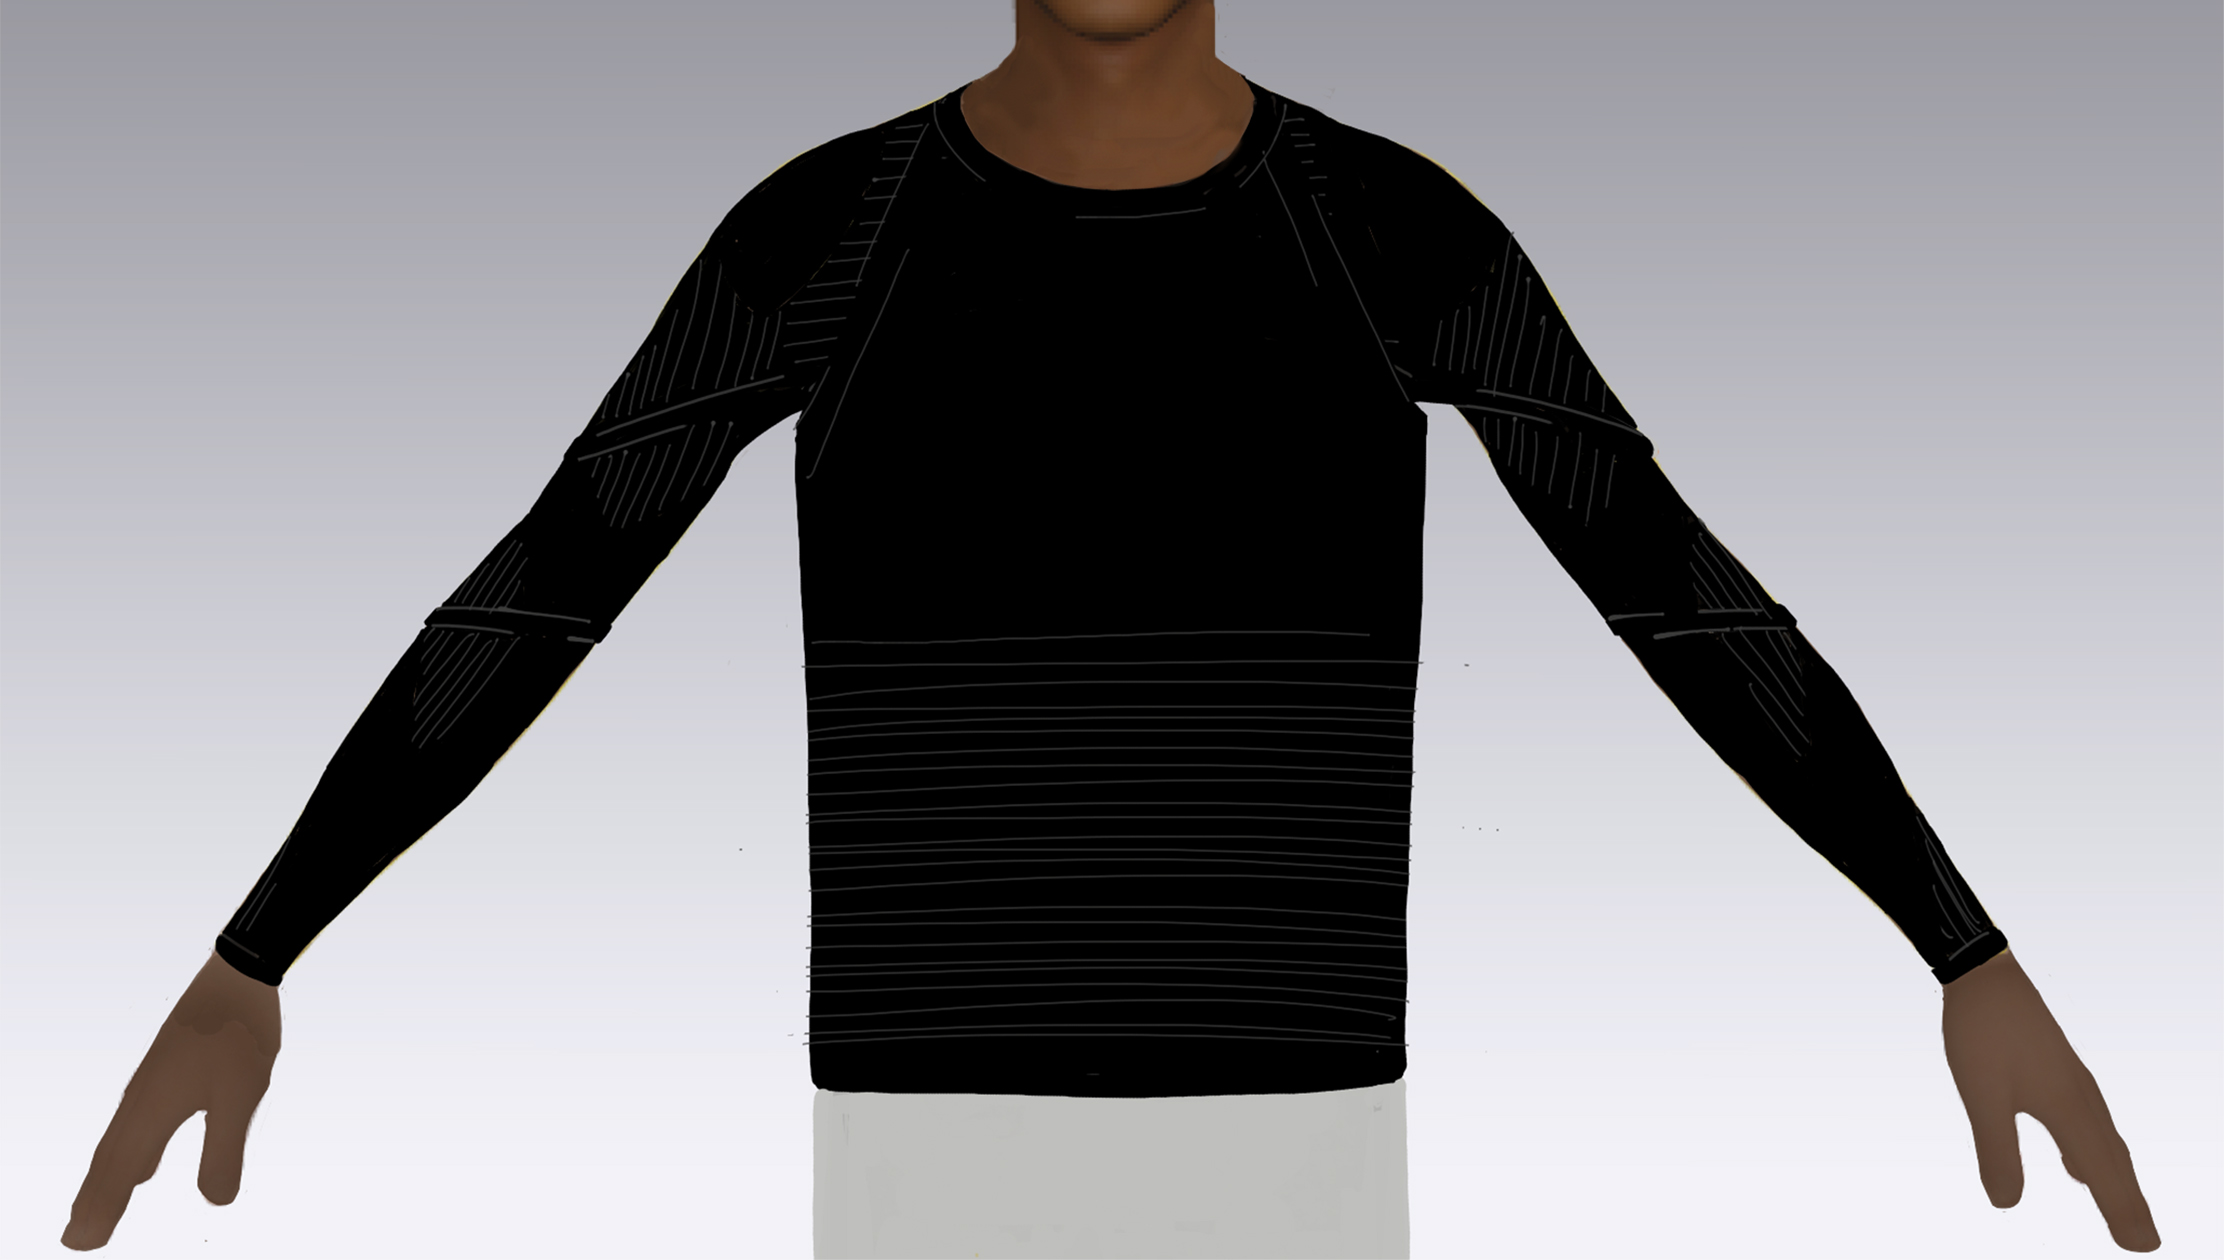
As all of the research slowly started to come together into the final garment design, we worked on two results. We created a two-part design for the garments in which the sleeves contained all of the TexPCB sensors and technical components, and a second comfortable and fashionable layer that could be worn to complete the outfit.
In addition to the final garment designs, we created small technique samples in the form of armbands that could be used to measure the movement and activity of one muscle.
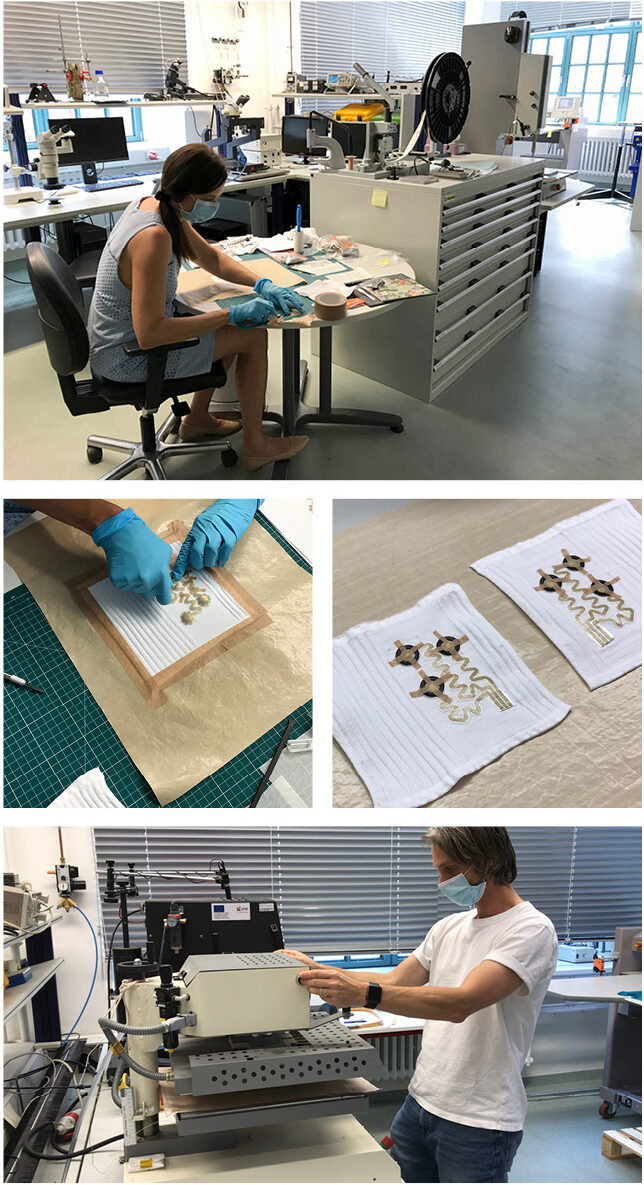
After creating the armband samples, we bonded the interposer chips to the TexPCBs using Fraunhofer IZM’s proprietary interconnection technology (seen here in this very cool machine!) Interposer Bonding
When creating these textile samples, we knit a small slit in the fabric so that we could wrap the “tail” of the TexPCB to the front of the armband. This tail became the area where the interposer chip would be bonded. This bonding process uses heat and pressure to bond the interposer chip to the textile, and because of the TPU material used in the TexPCB, the process of bonding the interposer to the TexPCB also closed the slit in the textile.
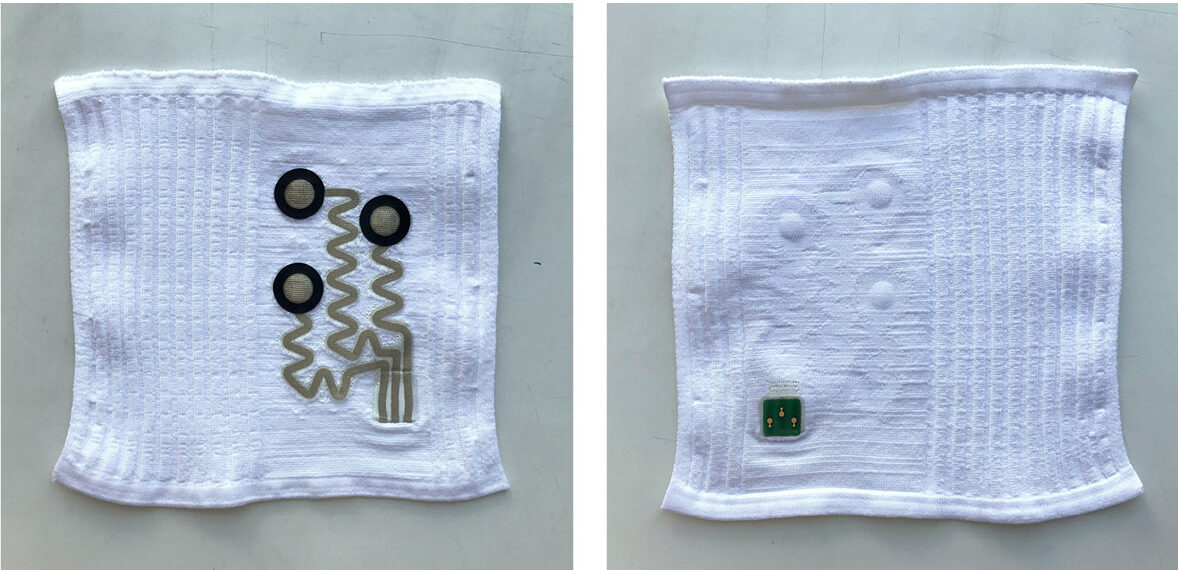
After bonding the interposers to the textile, we did a quick check to make sure all connections were properly made and that there were no short circuits.
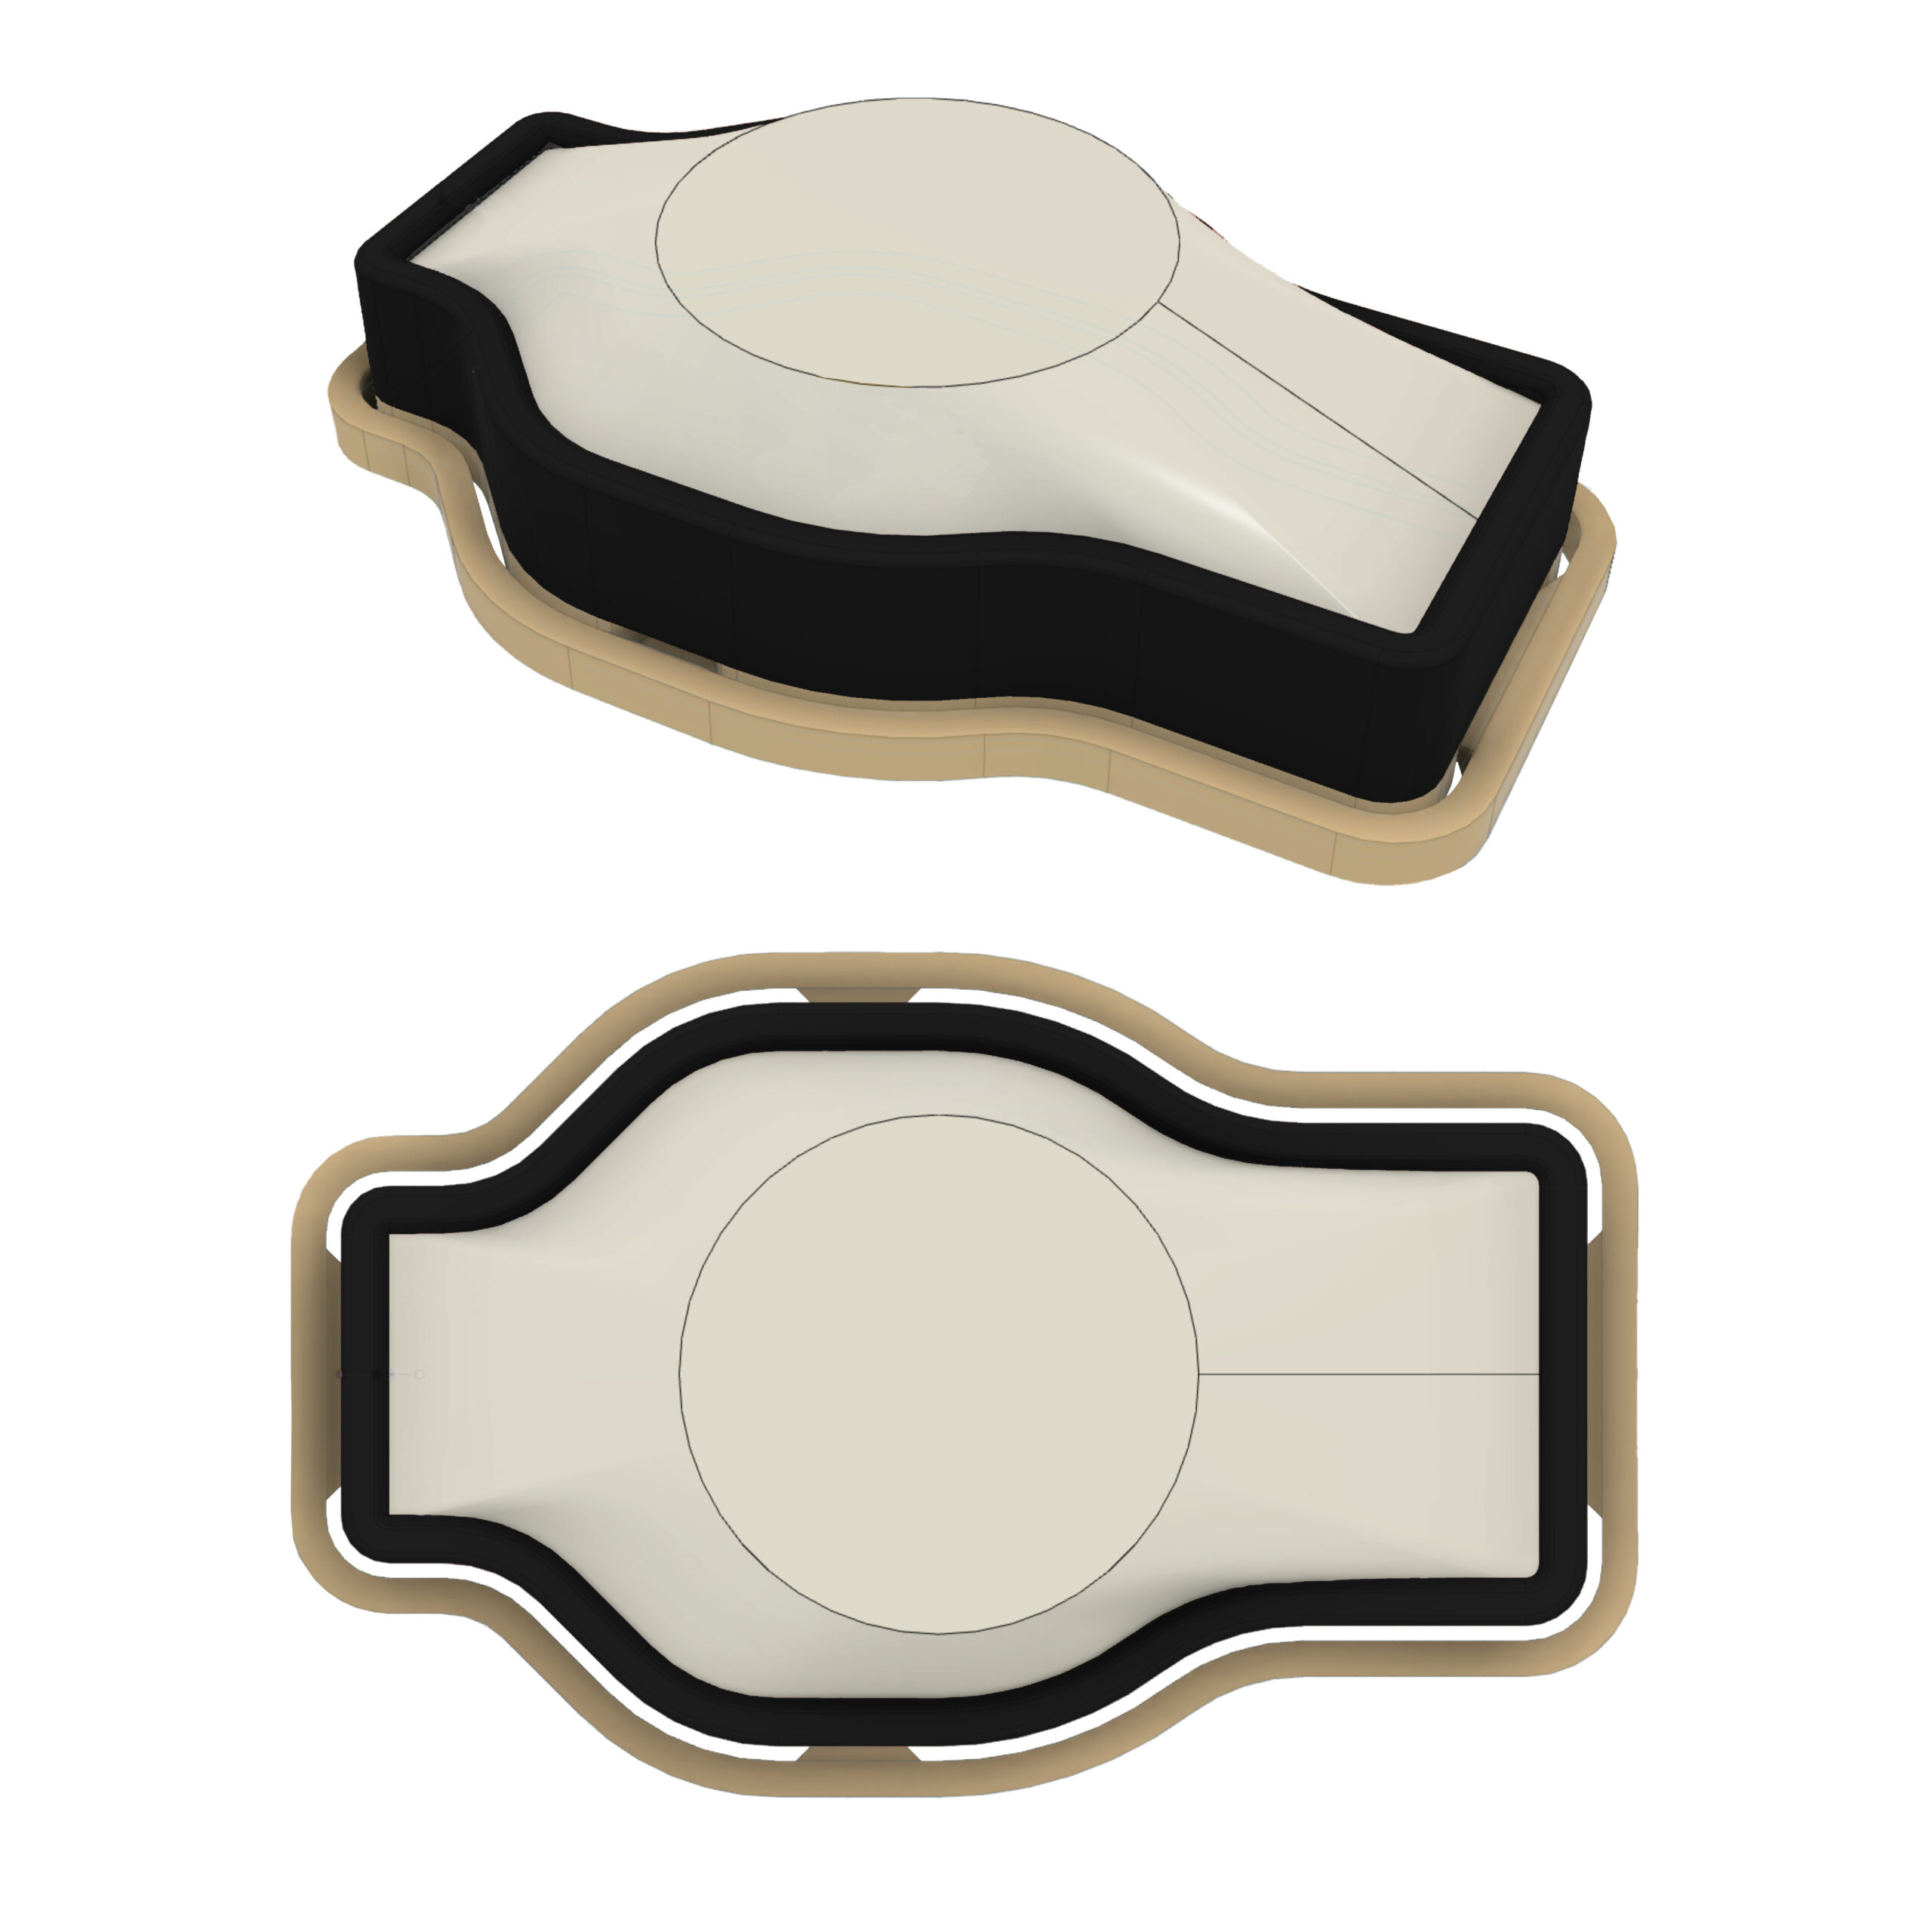
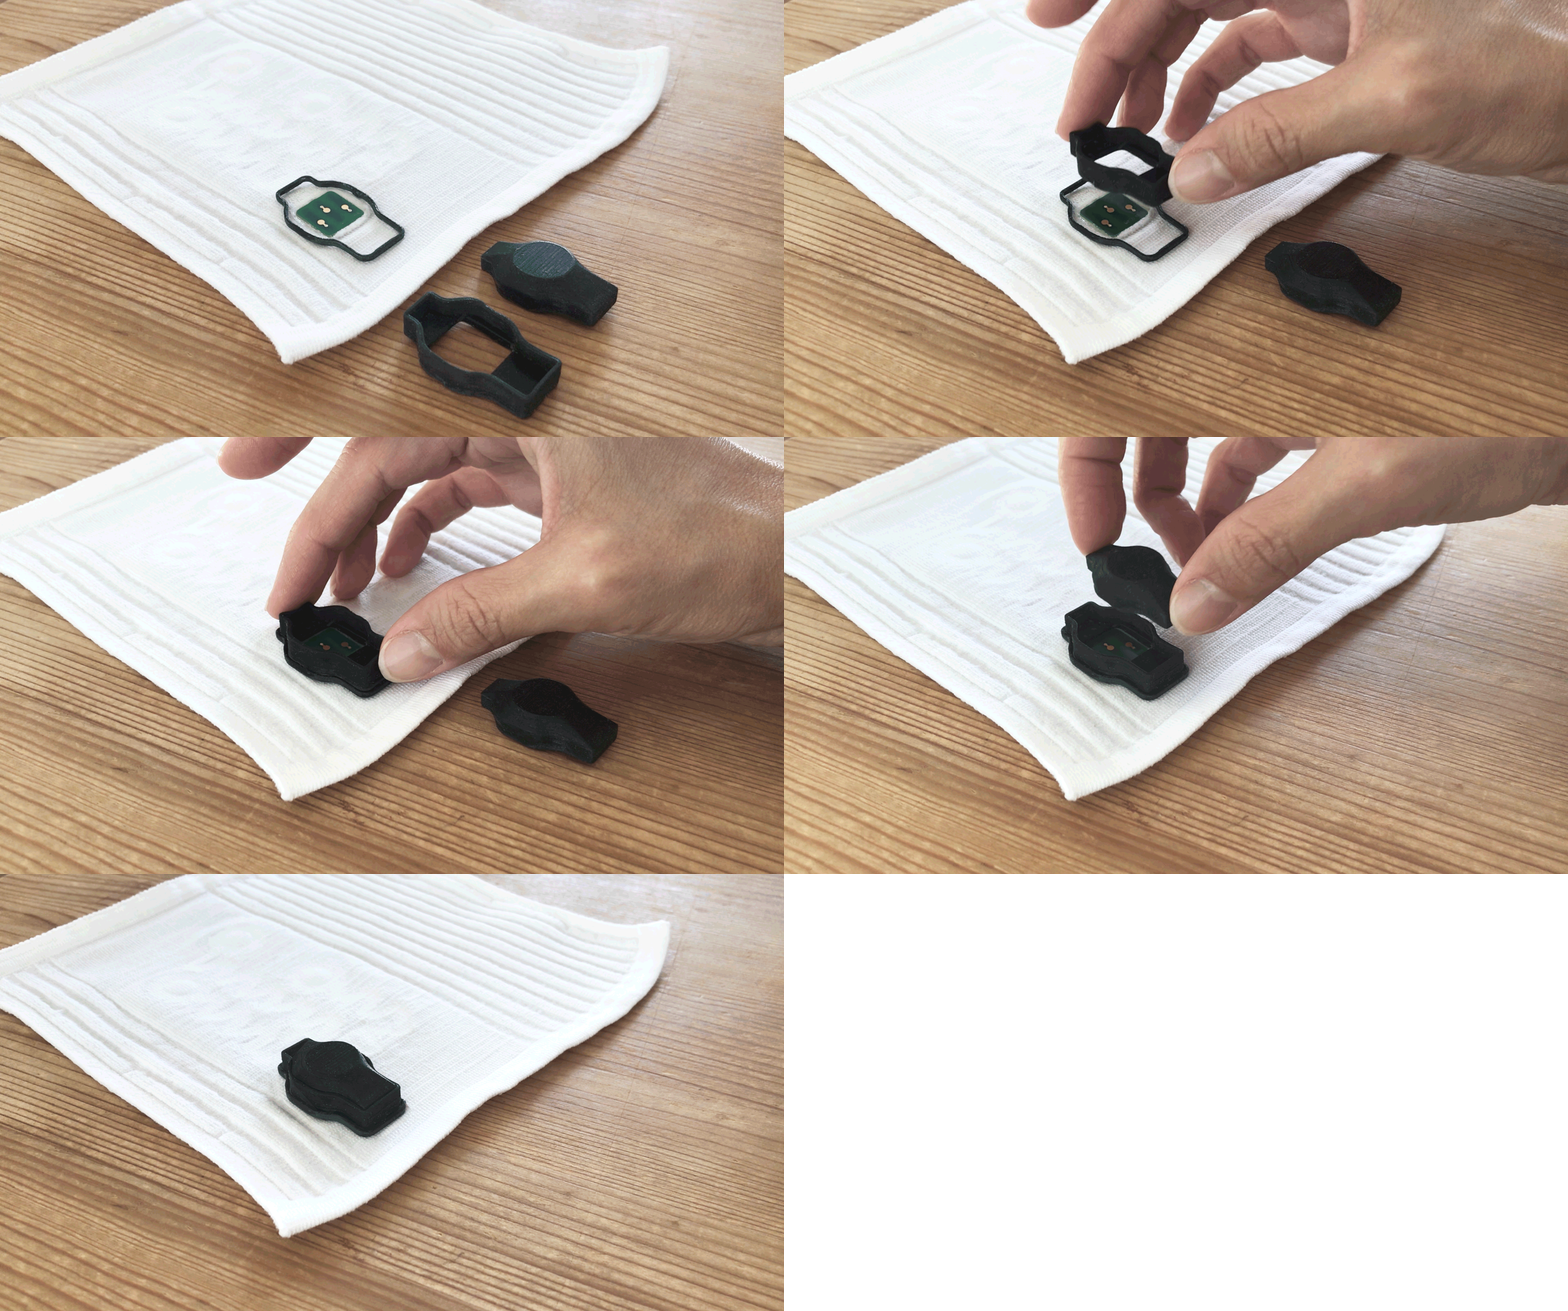
Finally, the module design was 3D printed in 2 separate parts and attached to the textile. The base of the clip is a snap design that adheres to the textile. The top of the clip is printed in two materials and combines a hard, snap-fit design with a flexible rubber lip to hold the processing module in place.
Stay tuned for the results where we bring all of the techniques into the final design!


