Marinero – 5
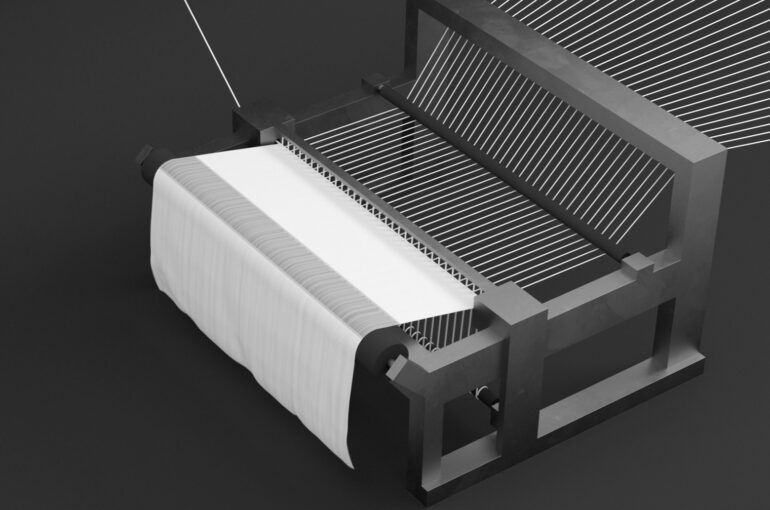
*3D animation
–
*Archi-Filament Aitex
Jaime Gonzalez from Aitex wrote a summary based on interview questions:
- Can you explain what exact materials are used to create the Archi-Filament? Explain per yarn and filament:
- Monofilament Elastic yarn: is a thermoplastic polyurethane synthetic fiber.
- Multifilament1: PLA Polylactic acid.
- Multifilament2: rPA recycled polyamide from sea nets.
- Metallic yarn: PES (Polyester) bright white yarn + PES (Polyester) bright grey yarn.
- Dip coating: PVA (Polyvinyl acetate).
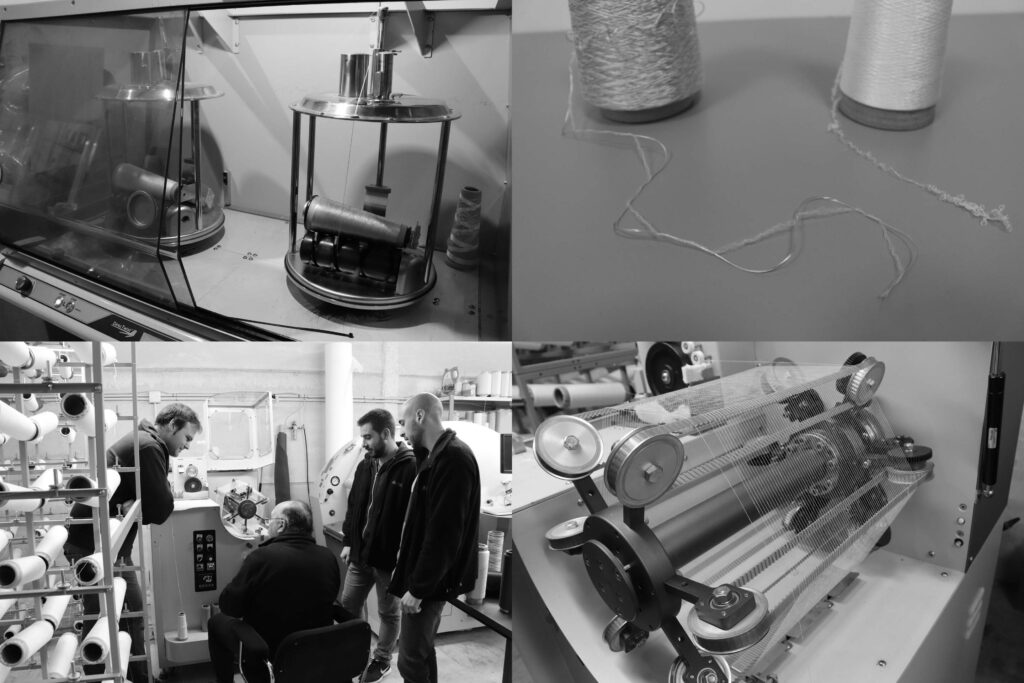
- What yarns did Aitex produce for the Archi-Filament? How does this process work?
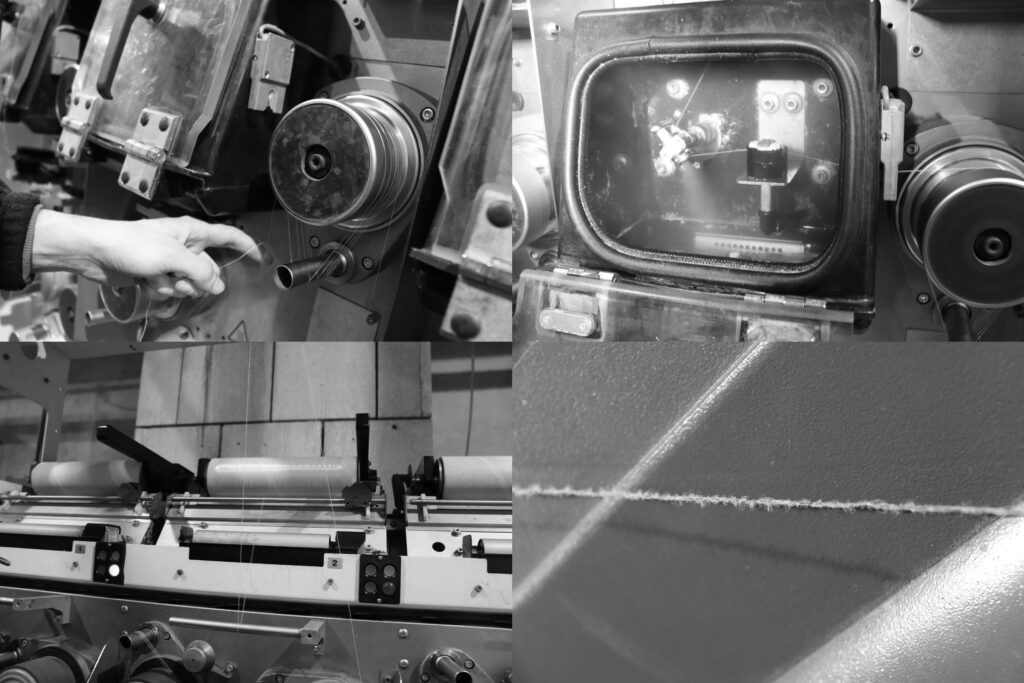
We had to manufacture PLA and rPA yarns by using the melt spinning process. The solid polymers are melted in the extruder barrel and the melted materials are forced through the multiple hole mold called ´spinneret´. During this process the polymers are solidified by cooling them down with air. The process named ‘ as-spun fiber ‘ = when the resulting fibers get collected and not undergone any further treatments. At the end of these processes all fibers get collected using the spin-line winder.
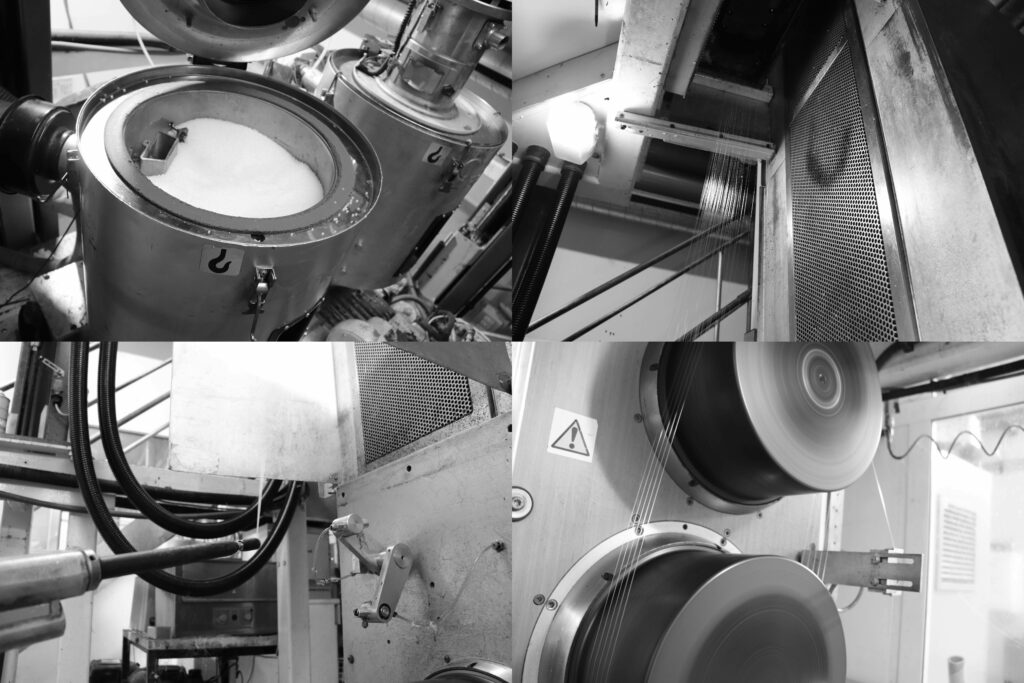
The multifilament manufactured within the extruder machine had to be textured by Taslan Air-Jet texturising process:
Air-jet texturising process is a purely mechanical method that uses a cold air-stream, to produce bulked yarns of low extensibility. The air-textured yarns resemble spun yarns in their appearance and physical characteristics. The air-jet texturising process is by far the most versatile of all the yarn texturising methods. It blends filaments together during the production process.
The air textured yarn is a bulky yarn with permanent crimps and loops. Interlacing of filaments in the jet can cause the loops to be locked into the yarn. Loop frequency, loop dimensions, loop stability and physical bulk are the important characteristics of air jet textured yarns.
Yarns produced by the air-jet texturising are totally different structures. These yarns are much more closely to simulate spun yarn textures. Whereas the bulkiness of the stretch yarns decreases with the degree of the yarn tension.
- What other yarns were used to create the Archi-Filament? Yarns that Aitex did not make. (For example the elastane.)
Metalic yarn (PES (Polyester) Bright White yarn + PES (Polyester) bright grey yarn) and monofilament Elastic yarn. This selection of materials needed to be bought from other companies in Spain. These yarns and filaments were integrated with the yarns produced by Aitex.
- What technologies are used to create the yarns and Archi-Filament?
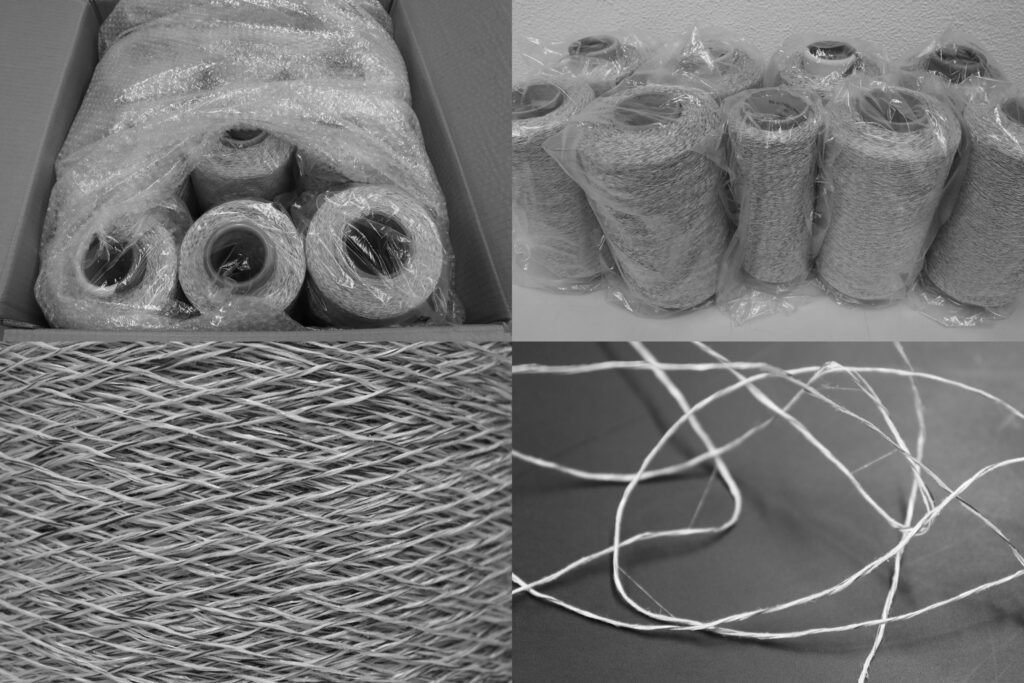
- Melt spinning process => Taslan Air Texturing => Twisting process => Dip coating.
- Twisting Process is how we join the different yarns (rPA + PLA + Meallic color yarn + Elastane)
- Dip coating with PVA.
- What was the most challenging part to produce this yarn?
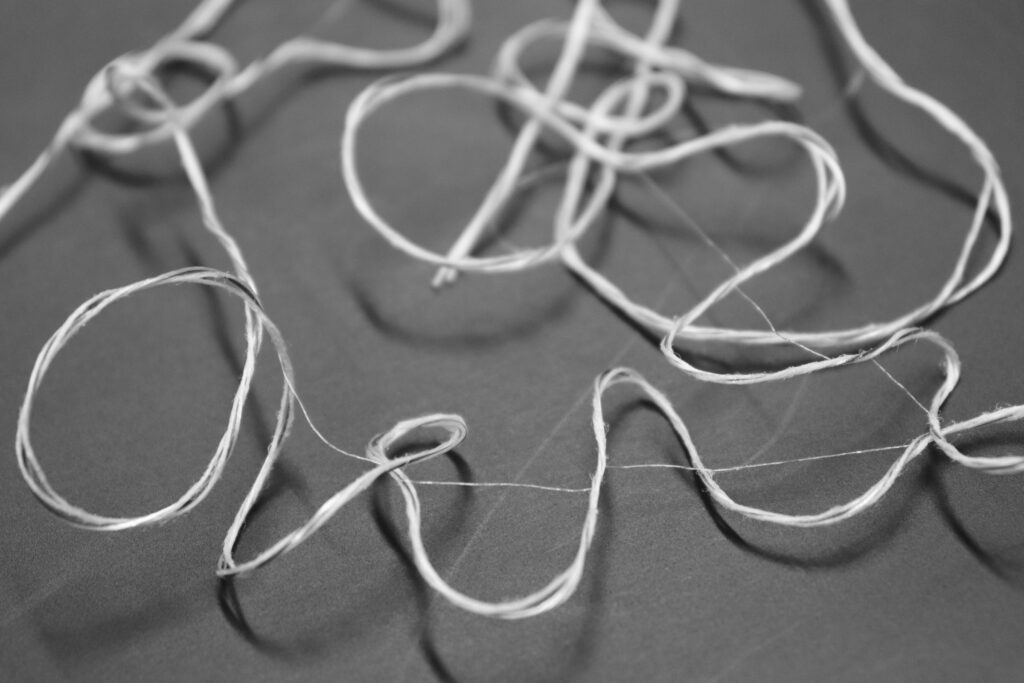
The design process starts by joining all yarns and filaments together. During the twisting process we had to control the tension of the elastane filament. This was necessary to achieve the looping effect of the Archi-Filament. The most challenging step was to balance the elastane tension versus the coating process.
–
*Wood K Plus update
We already reached the goal of the project by creating the Archi-Filament with Aitex. However, with Wood K Plus it’s a development process that needs more time. Why ?, because the melt coating technique is a much more restricted process. We tried to work with the melt coating technique before with Aitex, but the team advised me to work with the dip coating technique. With the dip process we could do more by hand and also use a wider range of materials.
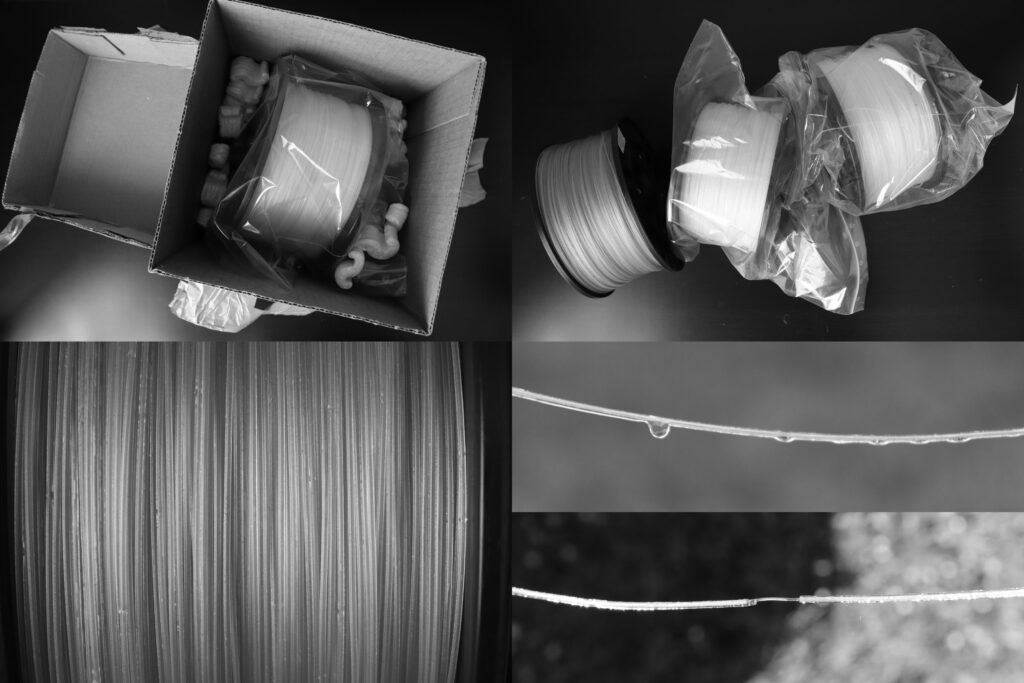
With Wood K Plus we followed up using the melt coating technique. I realized the difficulty of this process. But I still wanted to try and see what happens using this technique. It’s very realistic to conclude that we need more time and effort to develop this version of the Archi-Filament. I am very thankful to the team of WK+ to have worked so many days and nights to find several production solutions.
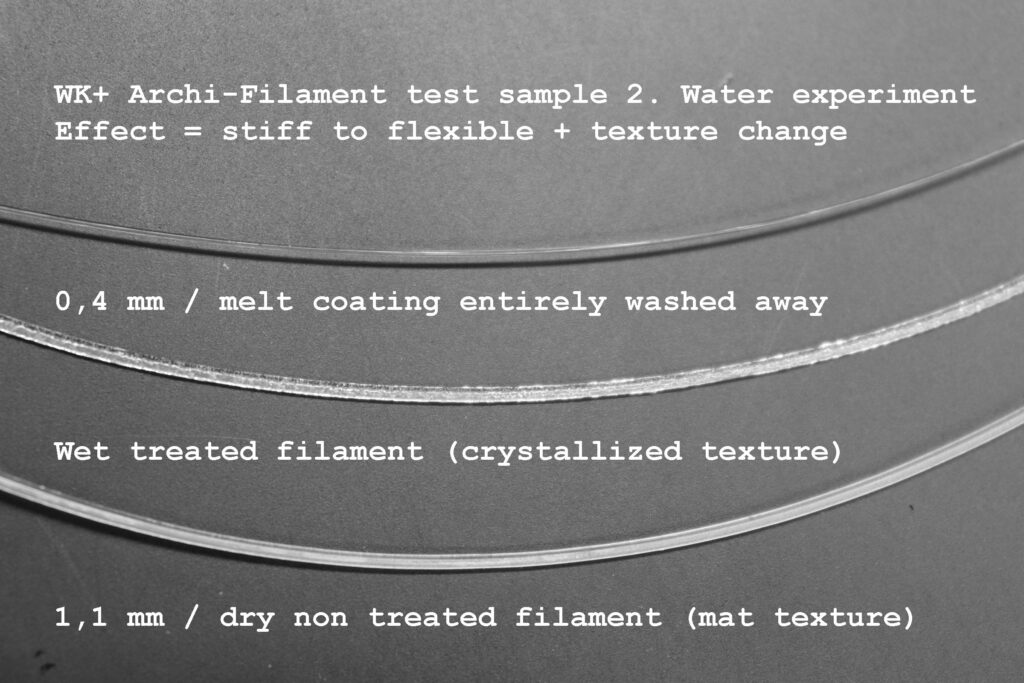
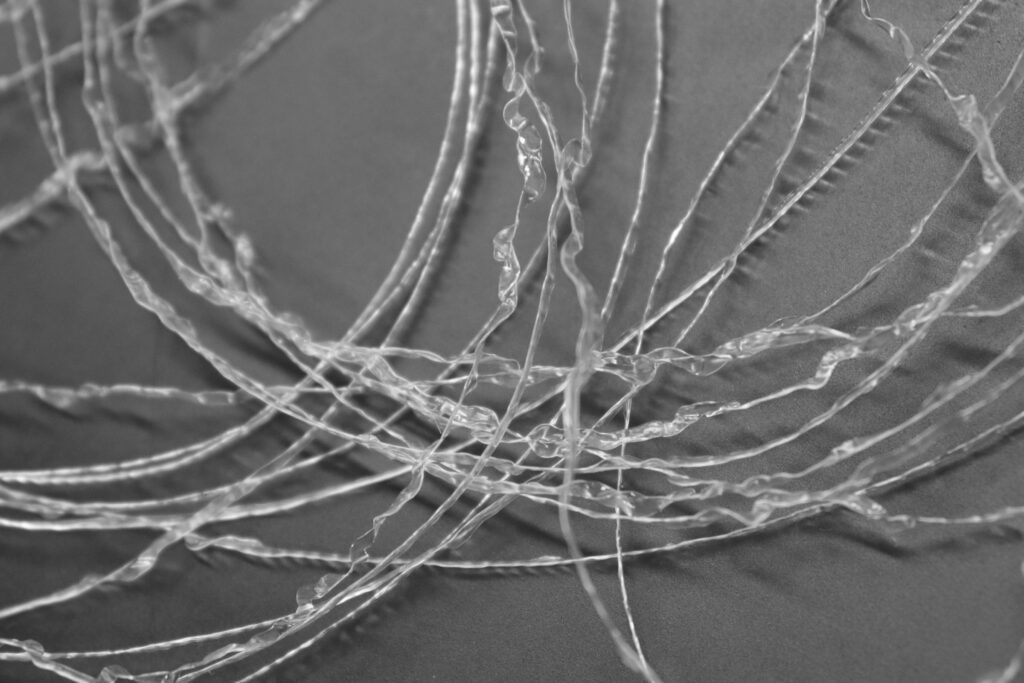
For project Re-FREAM we decided to develop two separate filaments. Test version number 1 shows the looping shape. Test version number 2 shows the transformation process ”from stiff to flexible”. These 2 versions combined in a textile will simulate the concept of the Archi-Filament. The idea is to see and analyse how these filaments interact with each other. We will use the data collected from the tailored by weather installations. With this information we can develop new and improved prototypes.
–
*Spooling seaweed yarns
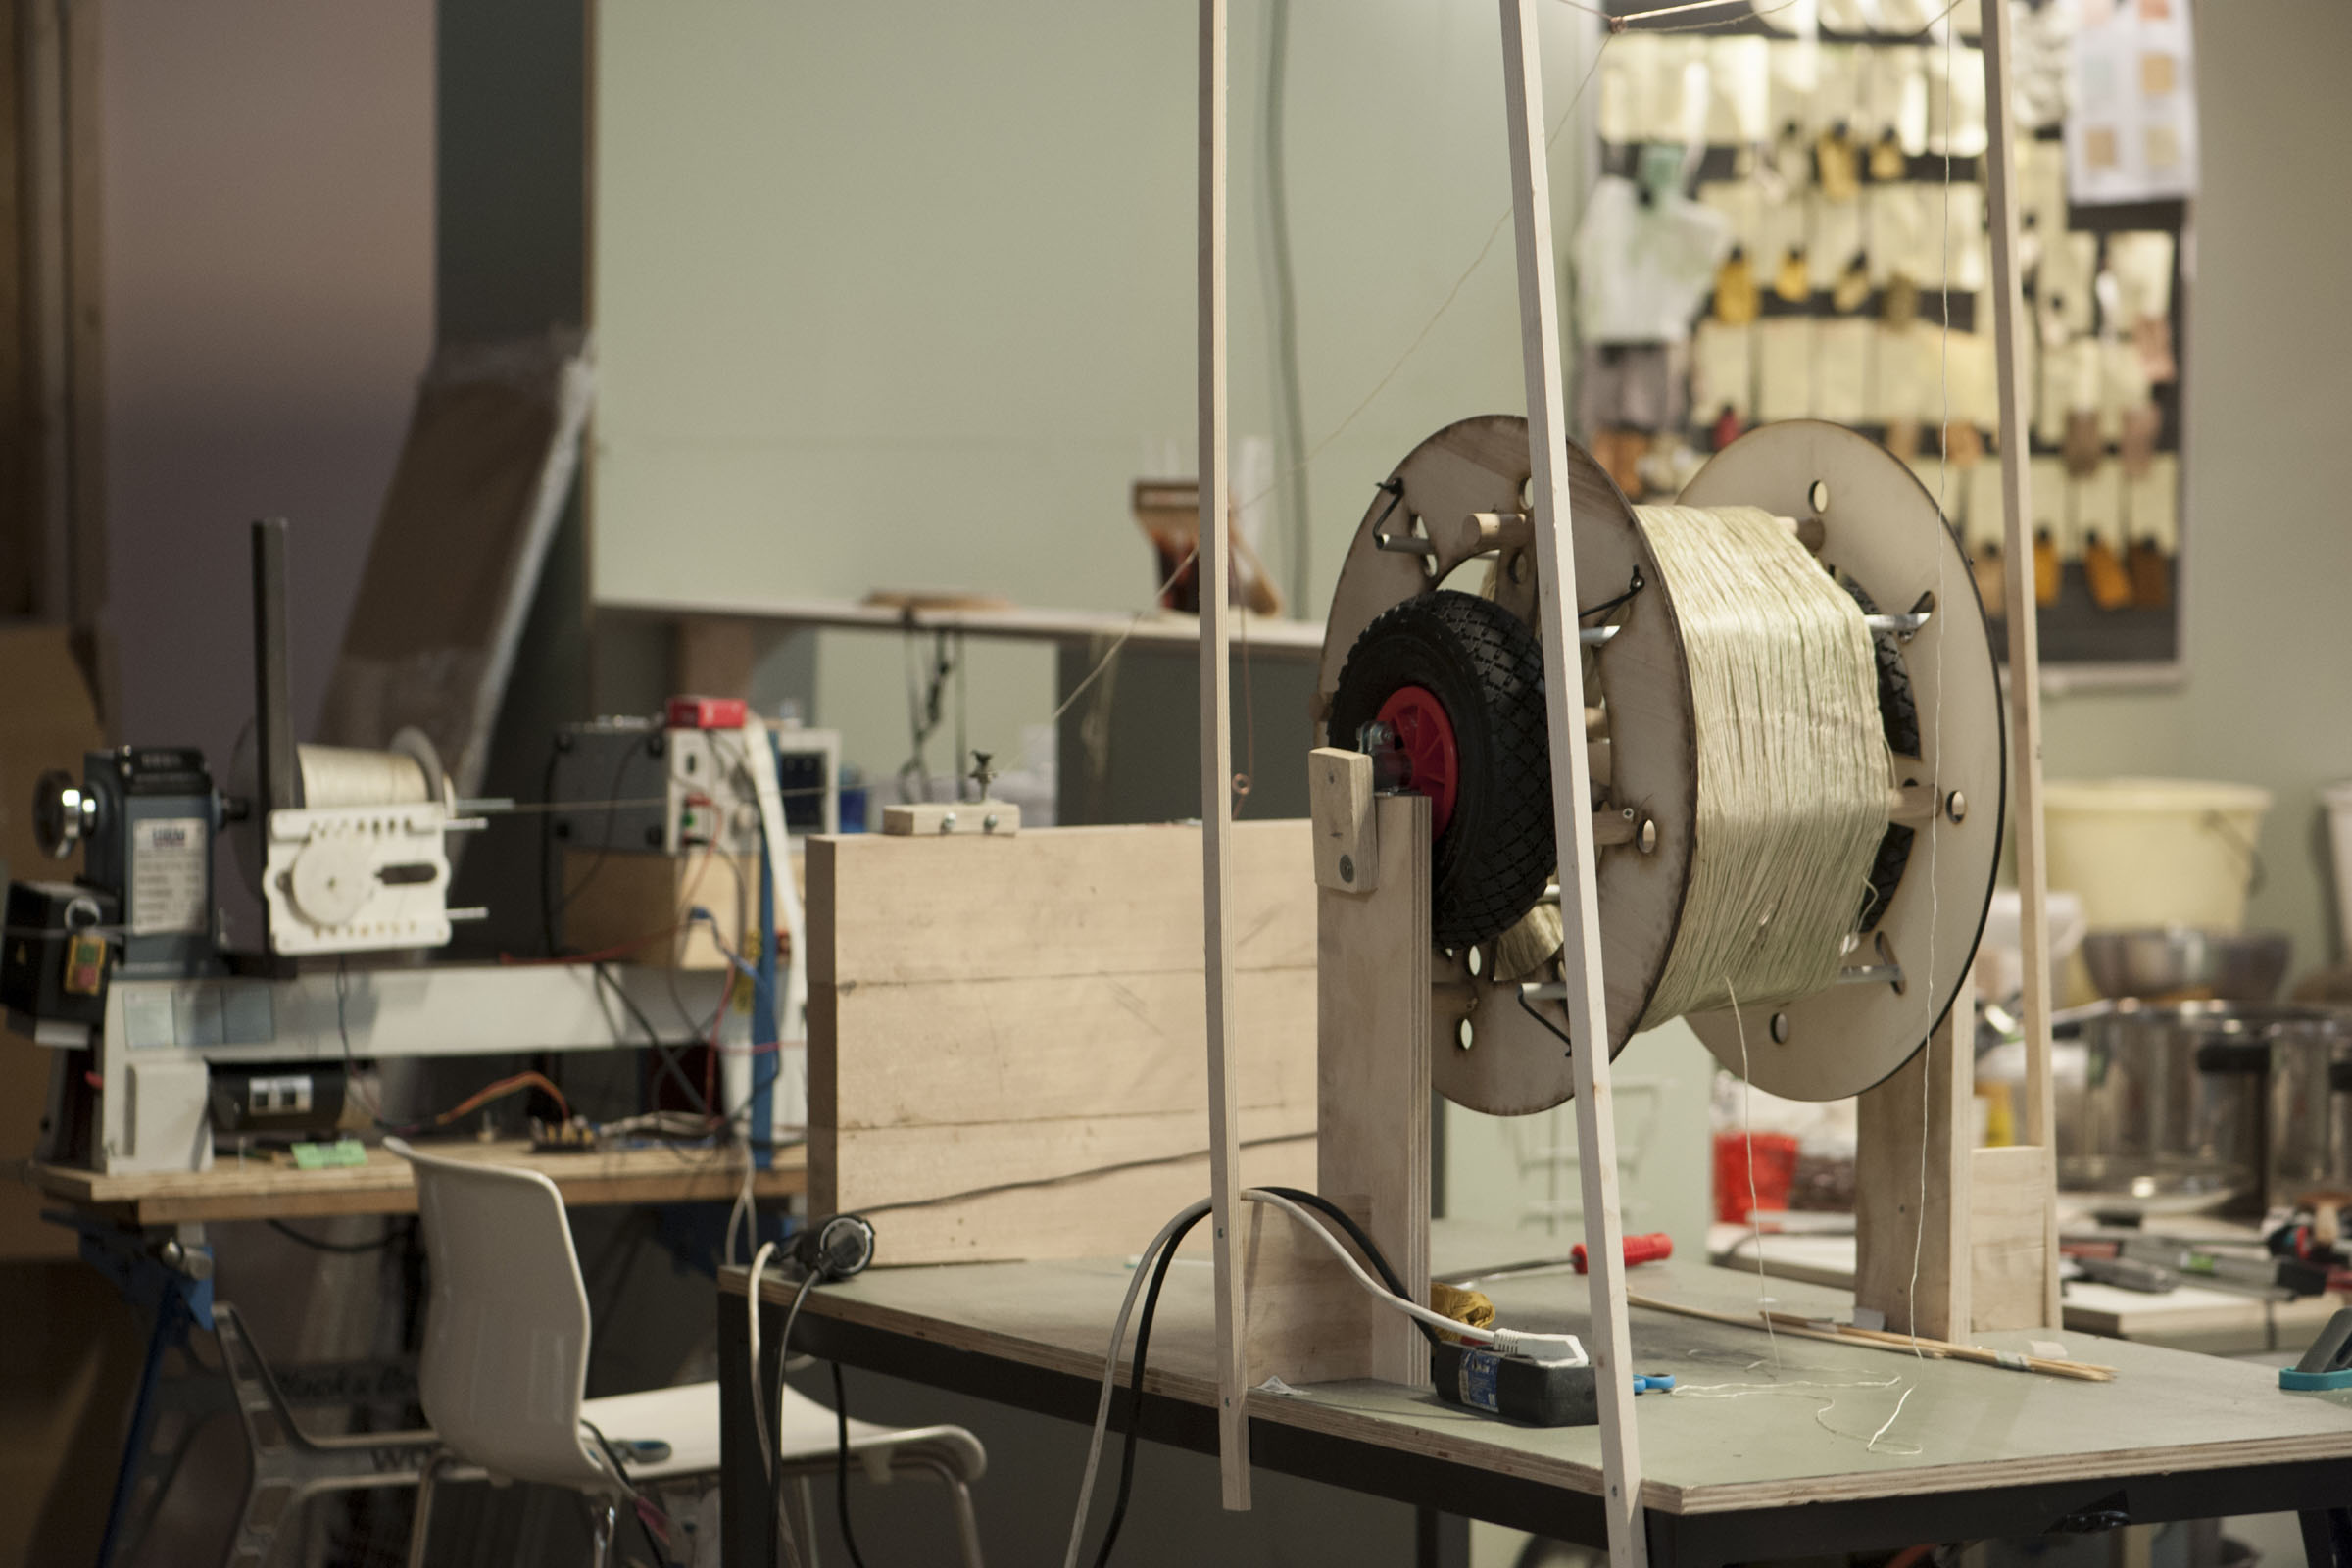
The collaboration between Carolijn Slottje and Tjeerd Veenhoven has been very inspiring. For us as a team it was about the development process and joined research. Since the beginning Carolijn and Tjeerd have been very invested with this commission. It was difficult to schedule the exact time needed to prepare all this work. In the end they invested so much time and effort, dyeing all the Seacell yarns by the use of seaweed pigments. Most of the process has been done by hand. They even constructed a special machine to spool all the dyed yarns back onto the cones.
It has been a challenge to dye all the tied down yarns within the pigment baths. The yarns were laying on top of each other, so it was a bit difficult for the pigment to reach all the layers of the yarns. Carolijn and Tjeerd decided to dye 2 bundles in a bath of 55 liters seaweed pigment. This process of dyeing needed to repeat for over 4 times per bundle. They dyed around 60 KM Seacell yarns. After the drying process the final challenge was to spool all the dyed yarns back onto the cones.
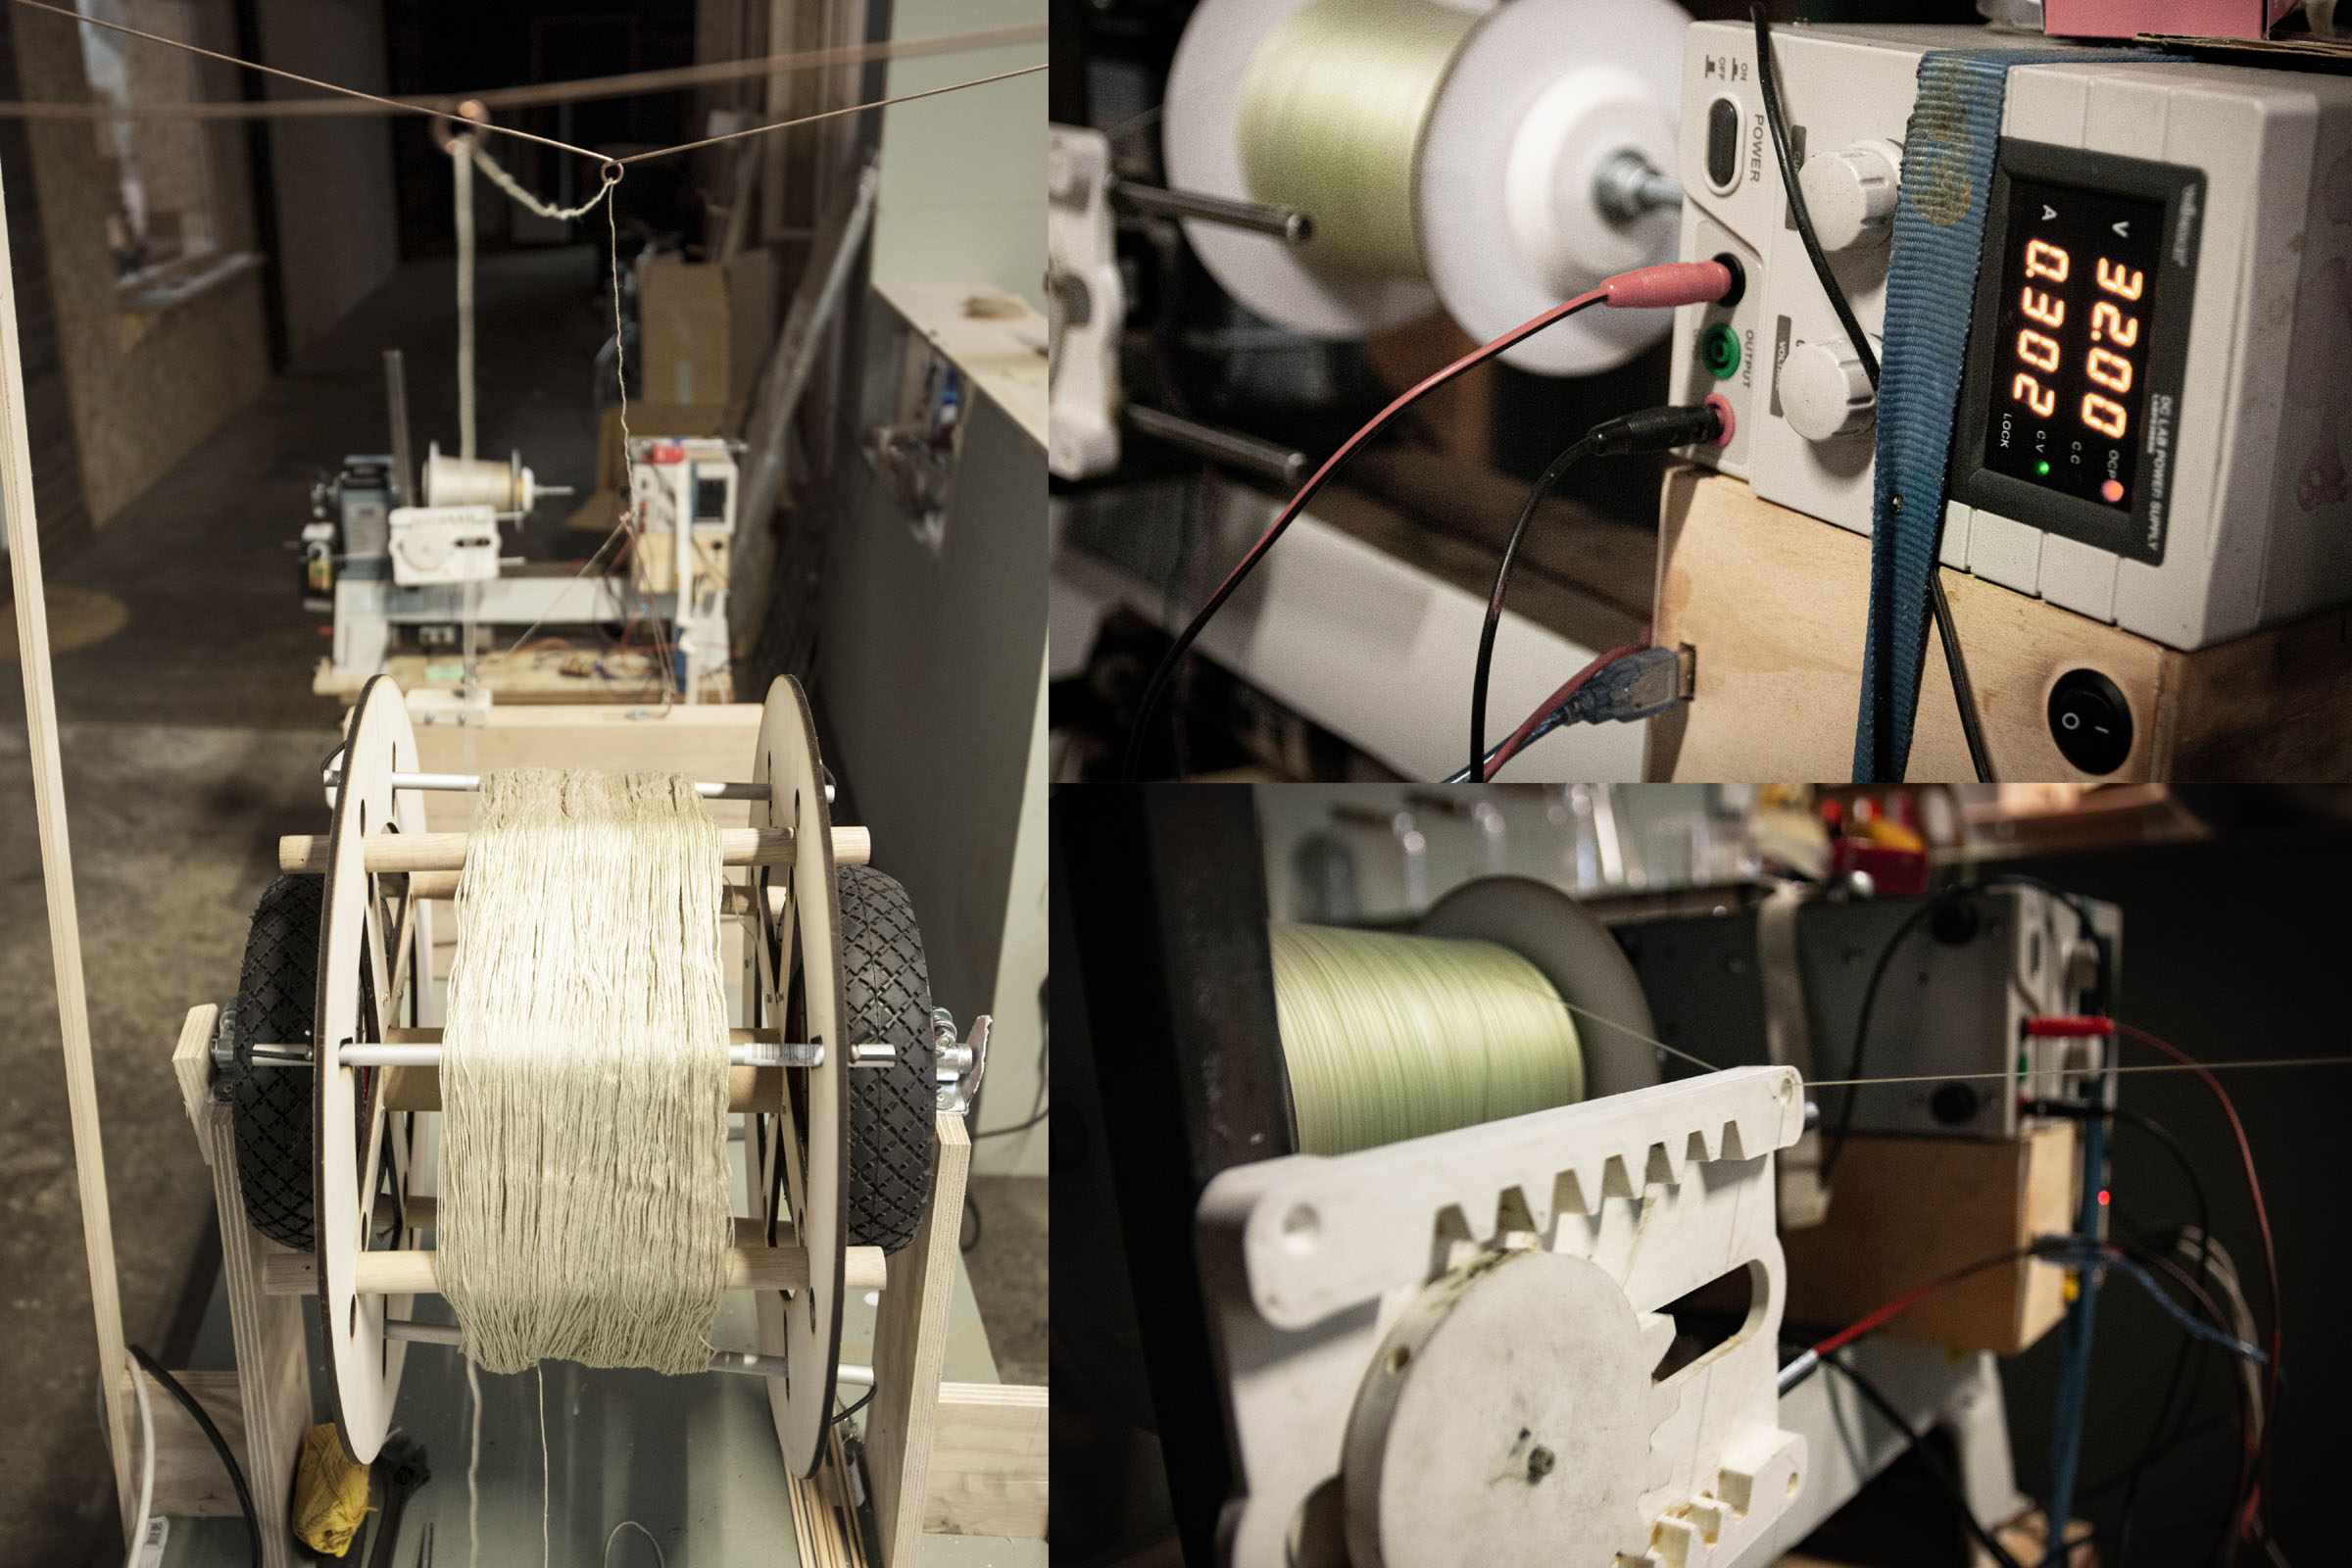
The first bundle mill prototype showed some technical errors, so they rebuild and adjusted the machine until it was correct. During the first production process the yarns knotted together. The only solution was to proceed the process partly by hand. Tjeerd has studied the spooling process from India, where the people work this process by hand. Carolijn continued this work plan for all the remaining KM dyed yarns. I am very thankful and happy with such amazing collaborators. My compliments for their love and dedication.
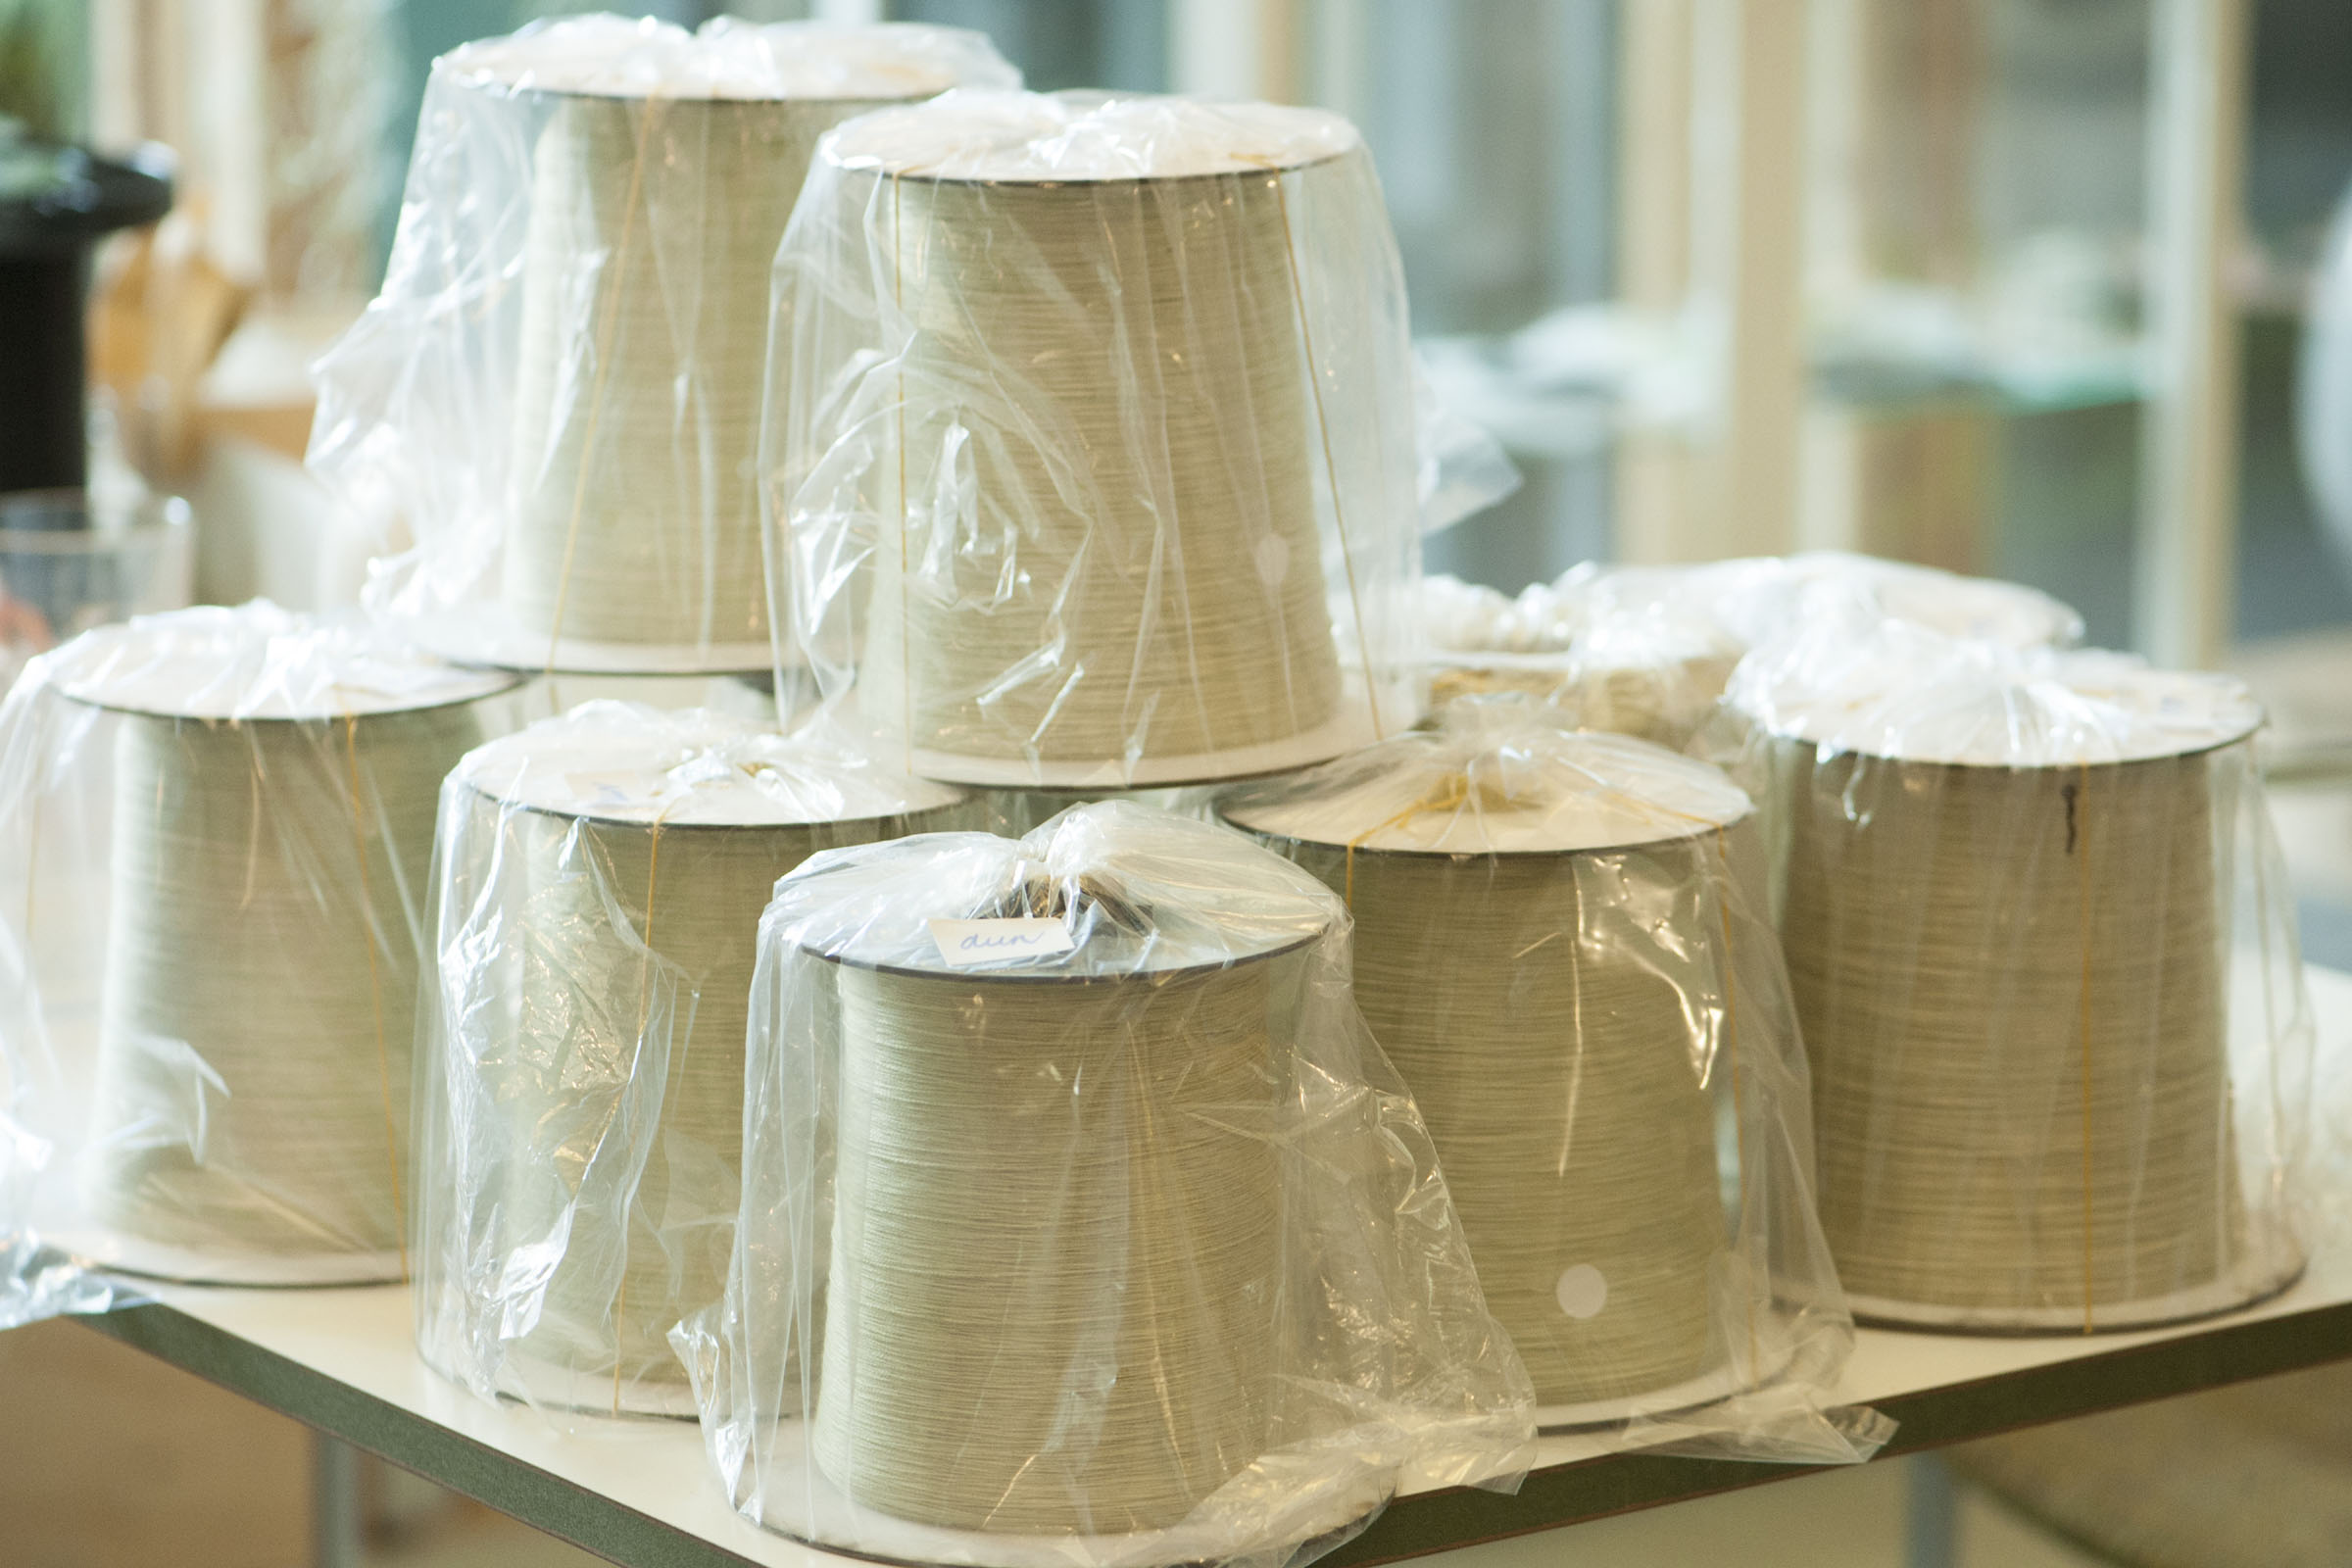
*In my upcoming blogs I will show some more fabric color previews.
–
*TextileLab start process
Last month I prepared some initial blueprints for TextileLab. It will be very important to be clear about each developed prototype. I prepared a detailed list and emailed it to the product developers of TextileLab. I will be working together with Judith Peskens for the weaving production. For the knitting production I will collaborate with Sarena Huizinga and Damien Semerdjian.
For the textile production I will be working with the developed Re-FREAM yarns. It was important to finish all yarn productions before I start working at TextileLab. Underneath there is a list of filament evaluation:
- Aitex Adaptive Archi-Filament: This filament is very close to the original concept of project Marinero. The production process is technically very difficult and not easy to reproduce. Meaning that producing this filament is highly exclusive! *The only improvement that I would see in the future is to maybe experiment with new materials. But other than that, we reached the goal.
- Seacell yarns dyed with seaweed: These yarns were already bought from a company in Switzerland. The unique element added to this yarn was to dye the yarns with seaweed pigment. *The only improvement that I would see in the future is to develop a new type of seaweed yarn, using different kinds of technology.
- WK+ Archi-Filament test samples 1 + 2: During the filament deadline of project Re-FREAM we were able to develop a small production of two WK + test versions. We did not reach the technical level to create a prototype that matches the original concept. We developed two separate prototypes that have some characteristics of the original concept. The aim is to follow up developing new versions of the WK+ Archi-Filament.
Difference between the Aitex and WK+ developed techniques?
- The dip coating technique that Aitex used allows you to have more technical options. Meaning that the temperature applied to coat the yarns are not so high. You can work with more materials using this technique. The only challenge here is that the process is much slower (compared to the melt coating technique).
- The melt coating technique that WK+ used shows a lot of potential. However, the options for materials to use are more limited. Meaning that the temperatures applied are much higher (compared to the dip coating technique). *The potential here is that the melt coating is much stronger. Meaning that the transformation force of the core filament could be potentially higher. Resulting into a more stronger deforming Adaptive Archi-Filament.
- To conclude the biggest challenge of creating the Archi-Filament: finding the correct balance of materials versus coating. It´s required to keep all pulling filaments and yarns inside the coating. The coating must not burst or break. Everything inside needs to stay ”frozen”.
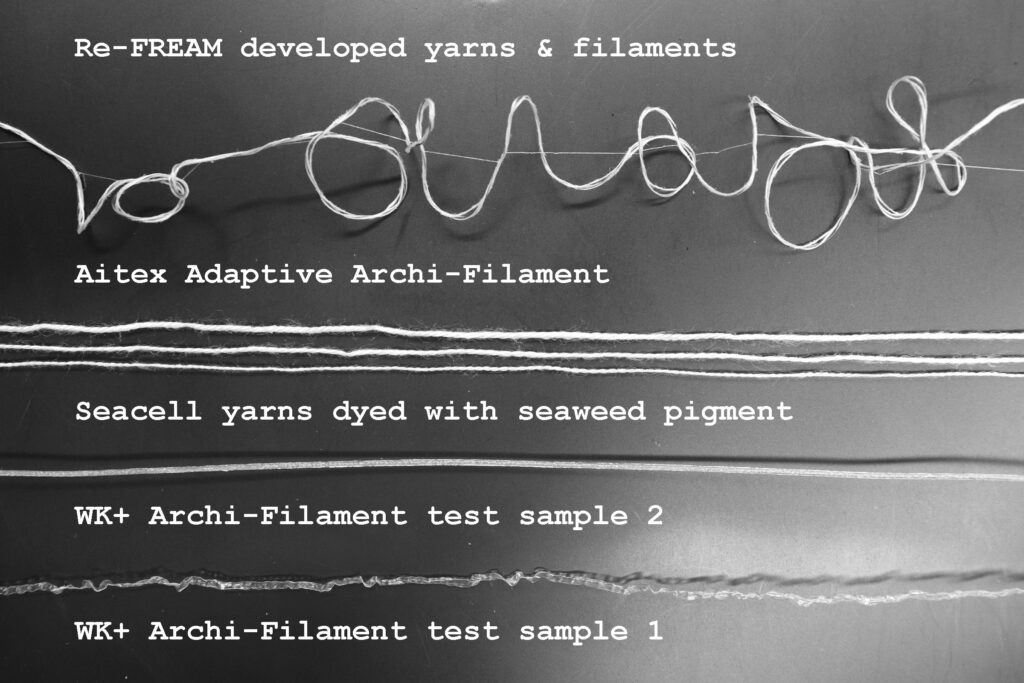
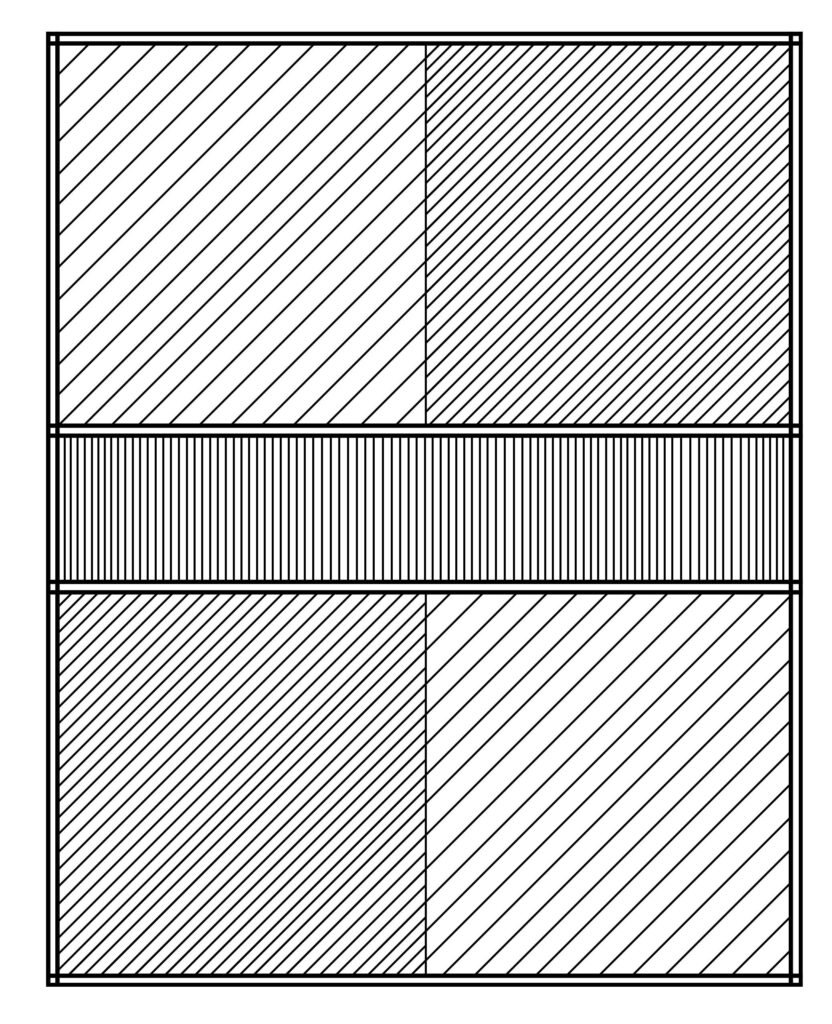
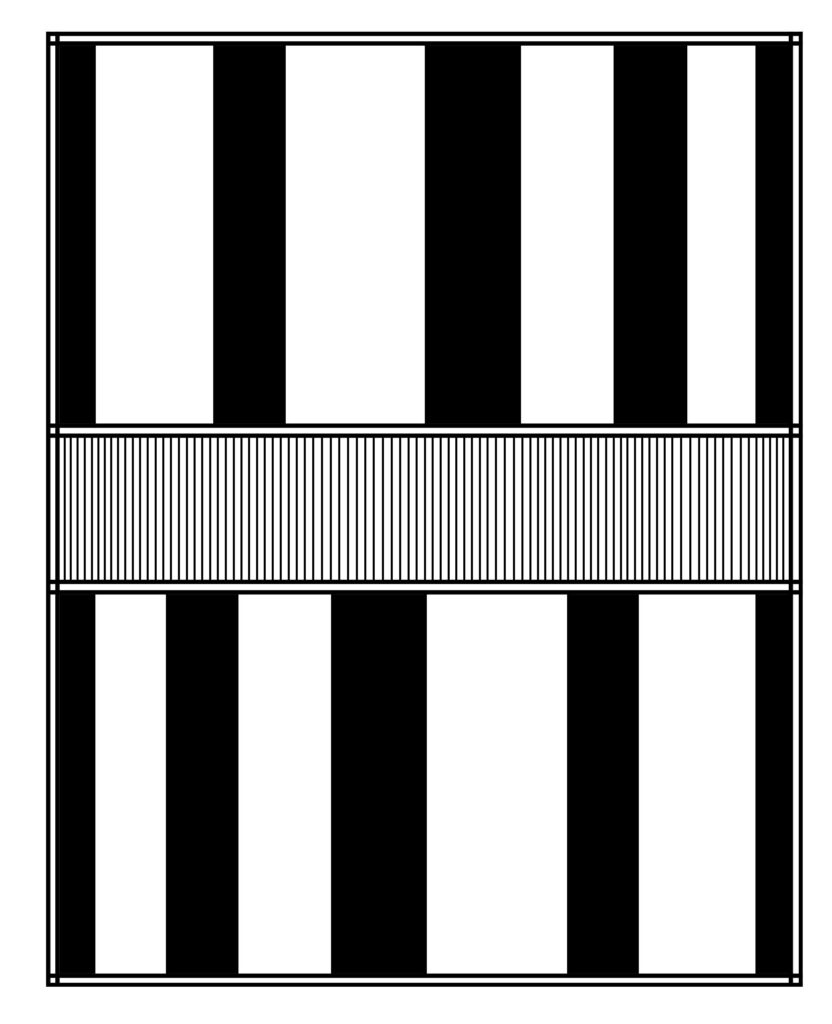
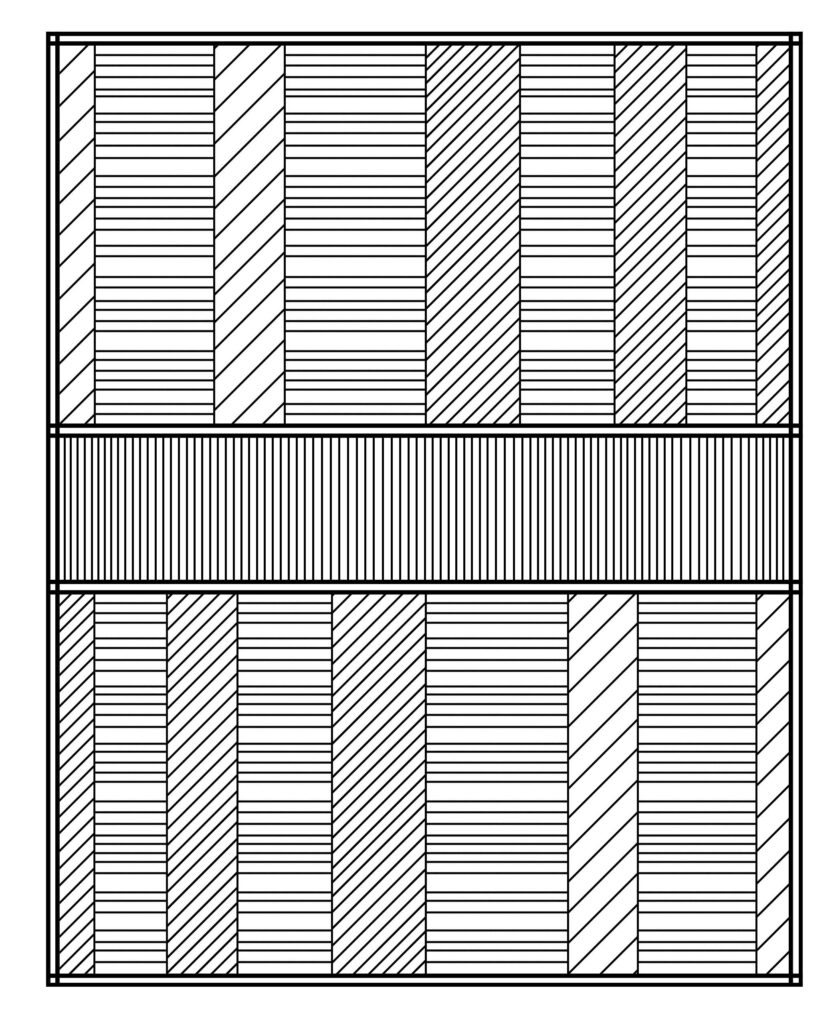
Next to my own developed yarns I will also use some of the yarns and filaments that TextileLab has available. All these yarns will be programmed and prepared for the digital textile blueprints. The wave pattern that I created last month seemed not to work. I realized that I want to create a wavy shape, by the use of the Adaptive Archi-Filament. Meaning that this can only be done by starting with straight lines (and not to start with a wavy pattern line). These straight pattern lines will eventually become a deformed wave shape.
The technical blueprints below showcase examples on how some pattern layers are prepared. These three example layers will eventually become one Marinero garment. Luckily I had some extra time to prepare these adjustments. Good preparation is everything! In June and July I will be working at TextileLab Tilburg.
–
*Material installation updates
Sonsbeek forest in Arnhem has been added to the list of official tailored by weather locations. I needed to contact the government and apply for a legal expo location permit. Medio May I got the confirmation that my team can build the installation between July and December 2020. The design of the Sonsbeek installation will be a different version. We are going to hang the installation between two trees. This will be done by using steel wires. Bart will help me throughout this whole process. The timelapse camera will be constructed high up in one of the nearby surrounded trees.
If you are curious about these plans, then focus on my upcoming blogs. I will be sharing more images and clips about this process.
The confirmed locations now are:
- 1: Alcoy @ Aitex textile institute ( 2020 )
- 2: St. Gallen @ Empa material laboratories ( 2020 )
- 3: Arnhem @ B46 Kema chemistry laboratories ( 2020 )
- 4: Arnhem @ Sonsbeek forest ( 2020 )
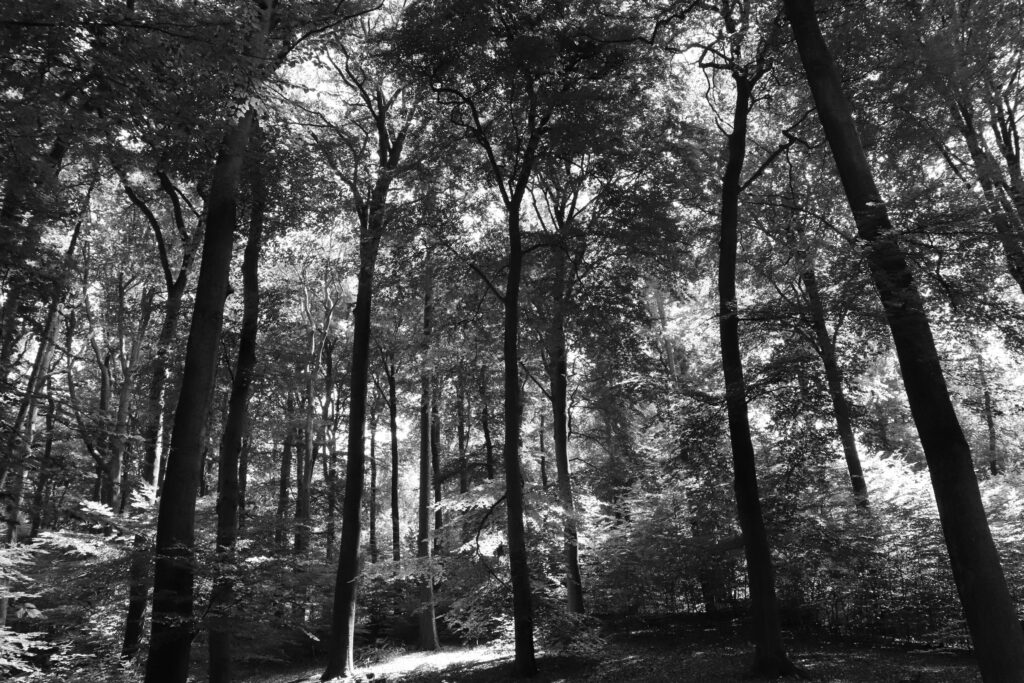
Image: Sonsbeek forest Arnhem
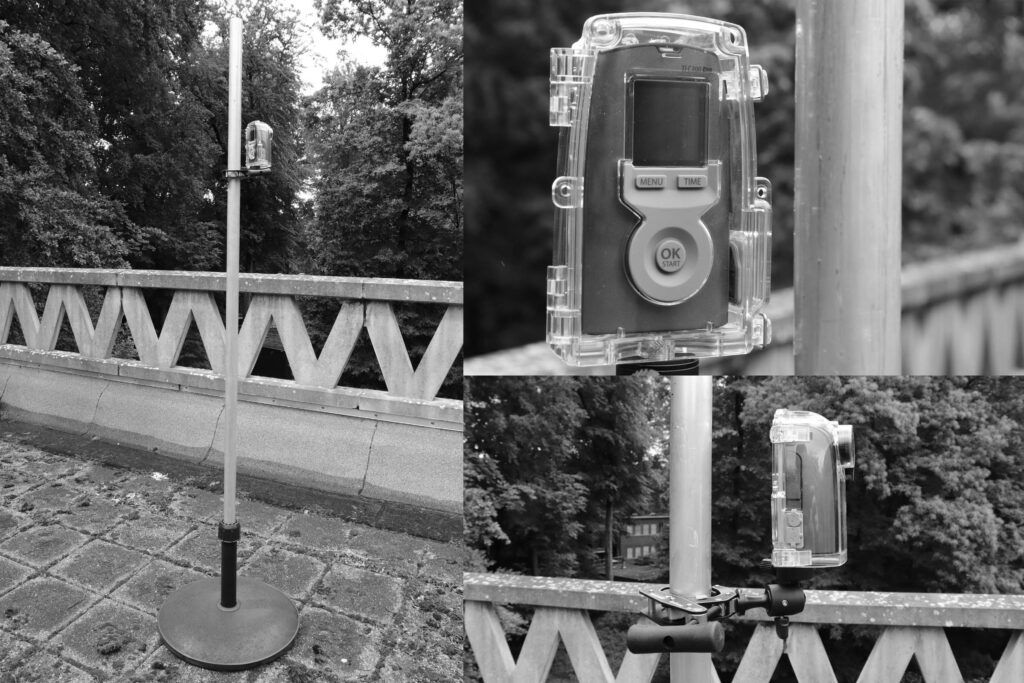
Timelapse camera’s will document the tailored by weather process. One camera can document a total of 2 months, by using the 32gb sd-card and 4 AA batteries. Bart Nijboer designed and constructed the first test version of the camera holder. We need to build 5 windproof structures for the timelapse camera. A strong and heavy foundation will keep the platform steady. The water resistant camera can be easily constructed around the tube, by using the aluminium camera holder. These camera structures will help us to find the correct spot at the tailored by weather locations.
–
For more info visit: www.studioadaptiveskins.com
